5 Natural Hairstyles for Shoulder Length Hair – This post is sponsored by Pantene, as always all opinions are my own
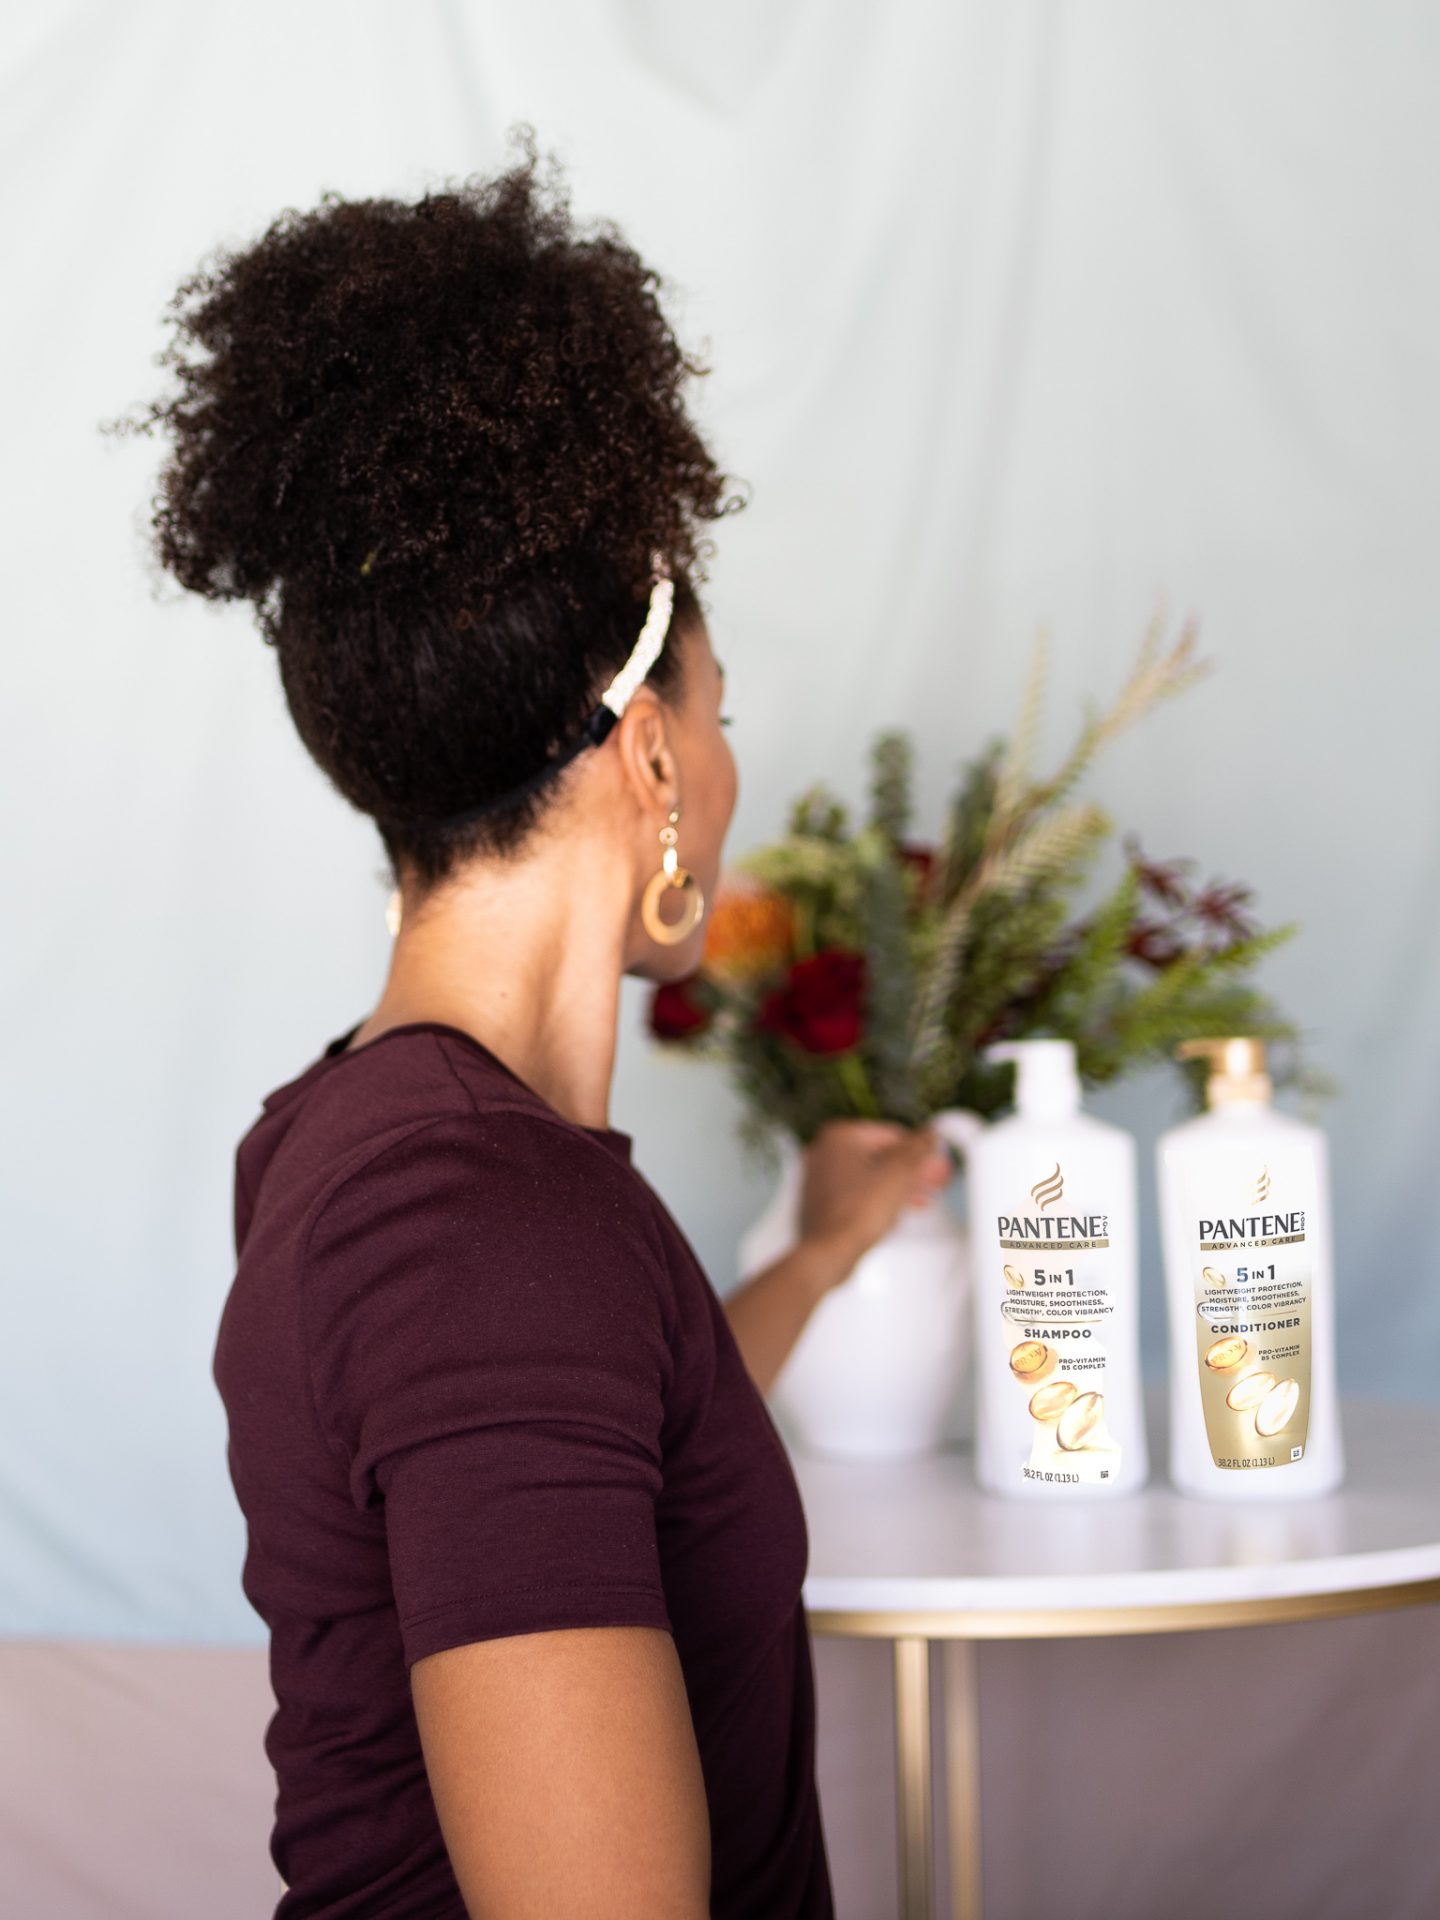
I am so excited to partner with Pantene and feature their 5 in 1 Advanced Care Collection (made for Costco members) to share with you 5 quick and easy natural hairstyles for shoulder length hair. All of these natural hairstyles took less than 2 minutes to create, and are part of my regular rotation. I have loved Pantene since I was a little girl, and I am so stoked to share how Pantene allows me to moisturize my hair and achieve these versatile natural hairstyles.
The only hair products I will be using to create these cute hairstyles is the Pantene 5 in 1 Advanced Care Collection thanks to its ability to add moisture, smoothness, and vibrancy. From June 1, 2020, through June 28, 2020, receive $2 off the Pantene Advanced Care Collection at Costco.
How to prep hair before styling
Before tackling any style it’s important to have a solid moisture foundation. You can achieve that by using your favorite shampoo and conditioner like the Pantene 5 in 1 Advanced Care Collection.
Why you should try the Pantene Advanced Care Collection:
5 benefits in 1 system:
- Moisture – provides lightweight moisture so your hair is not weighed-down
- Strength – antioxidants to help strengthen hair against damage
- Smoothness – helps to keep frizz away
- Lightweight protection – protects hair’s natural structure
- Color vibrancy – reveals vibrant color by adding a pop of shine
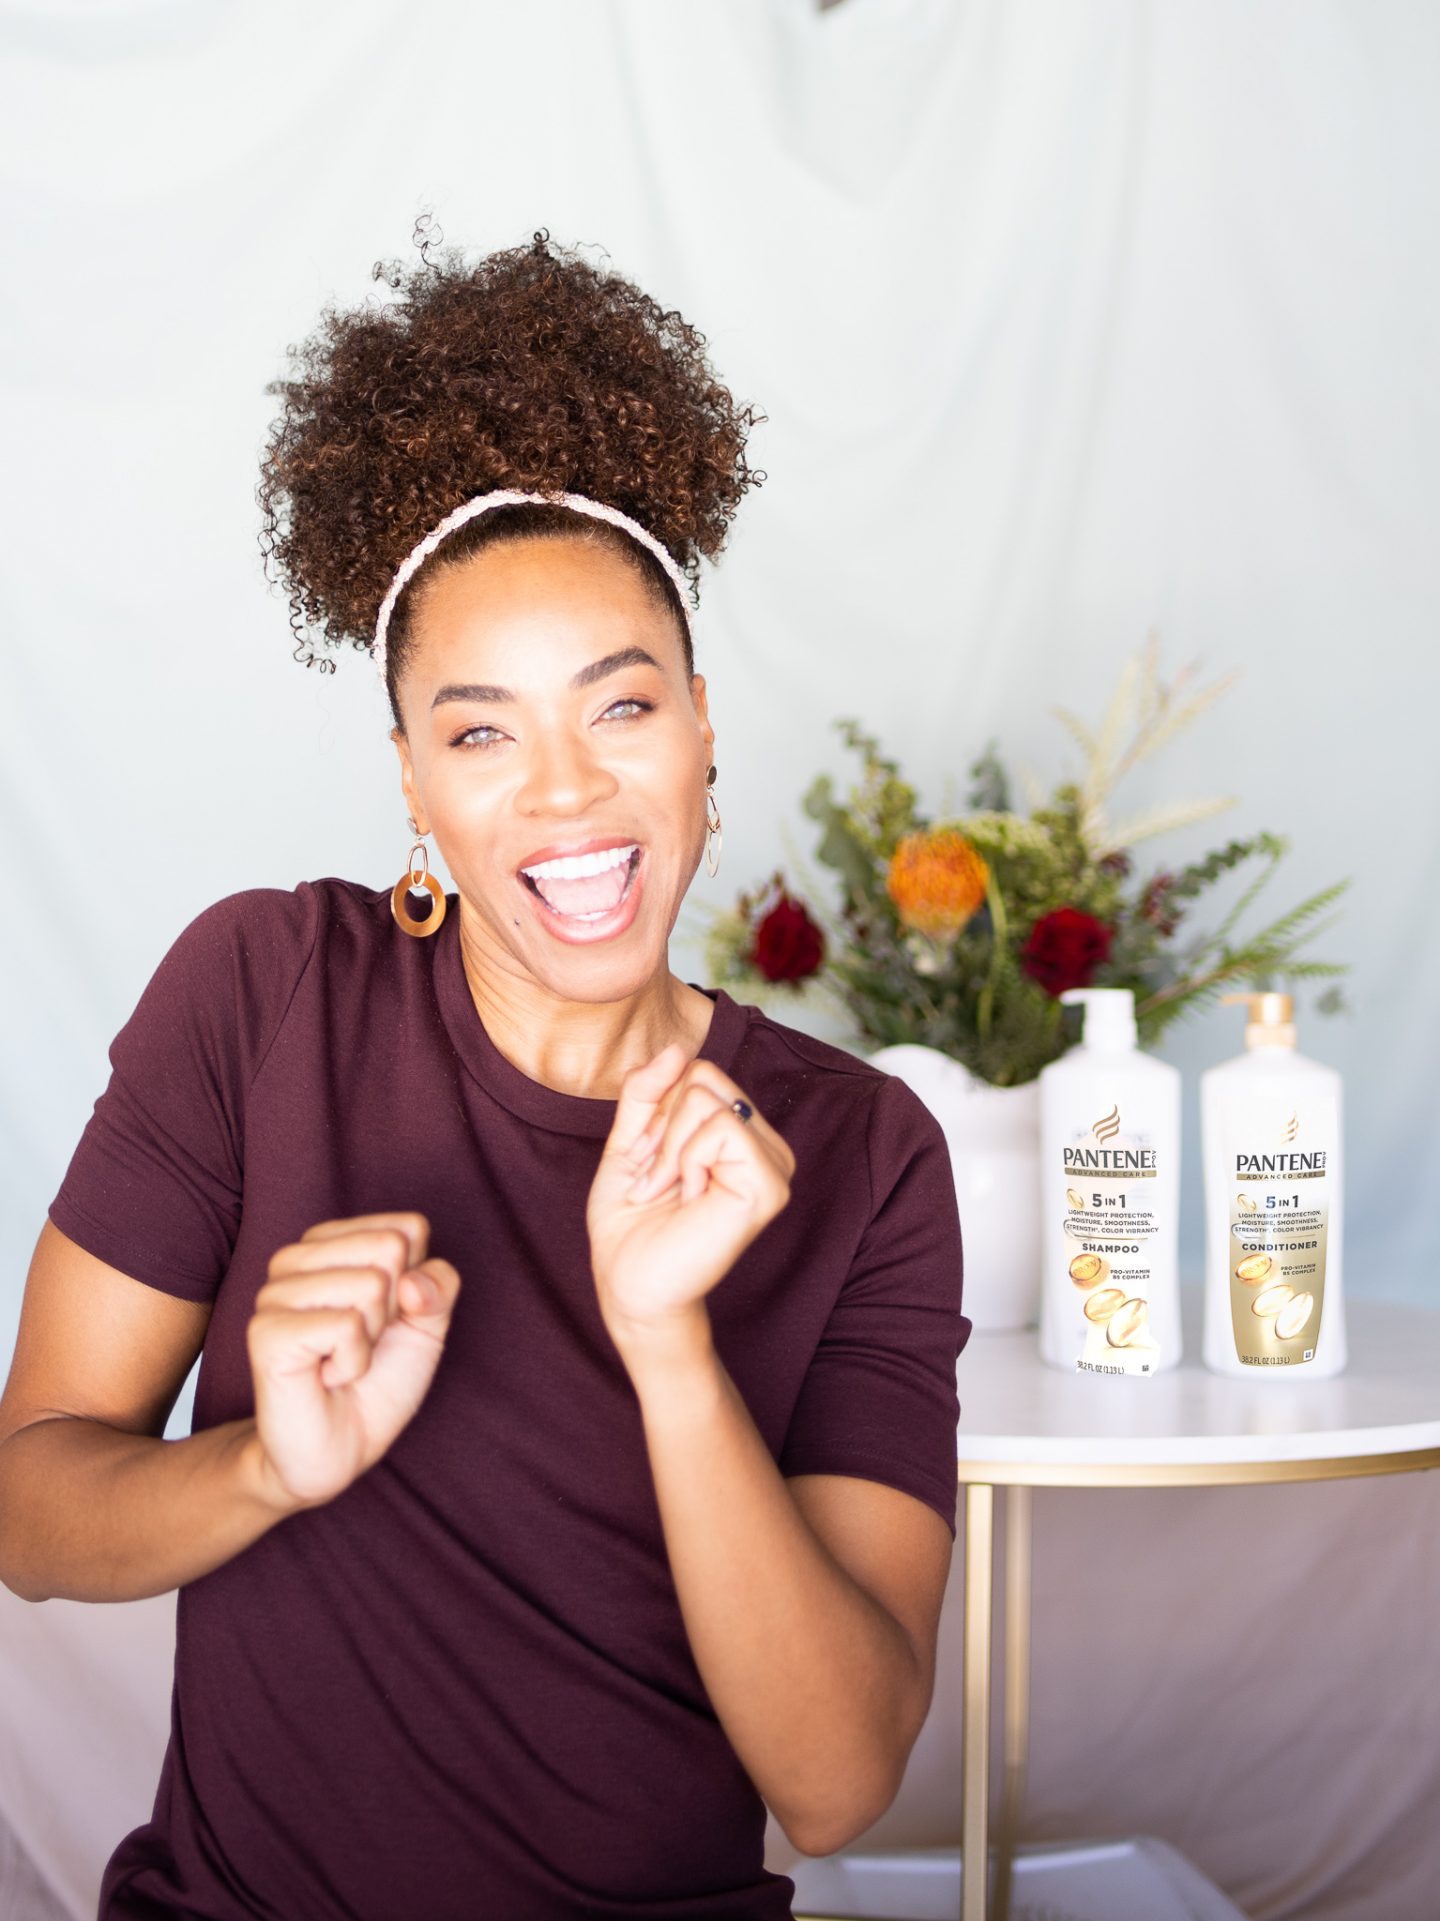
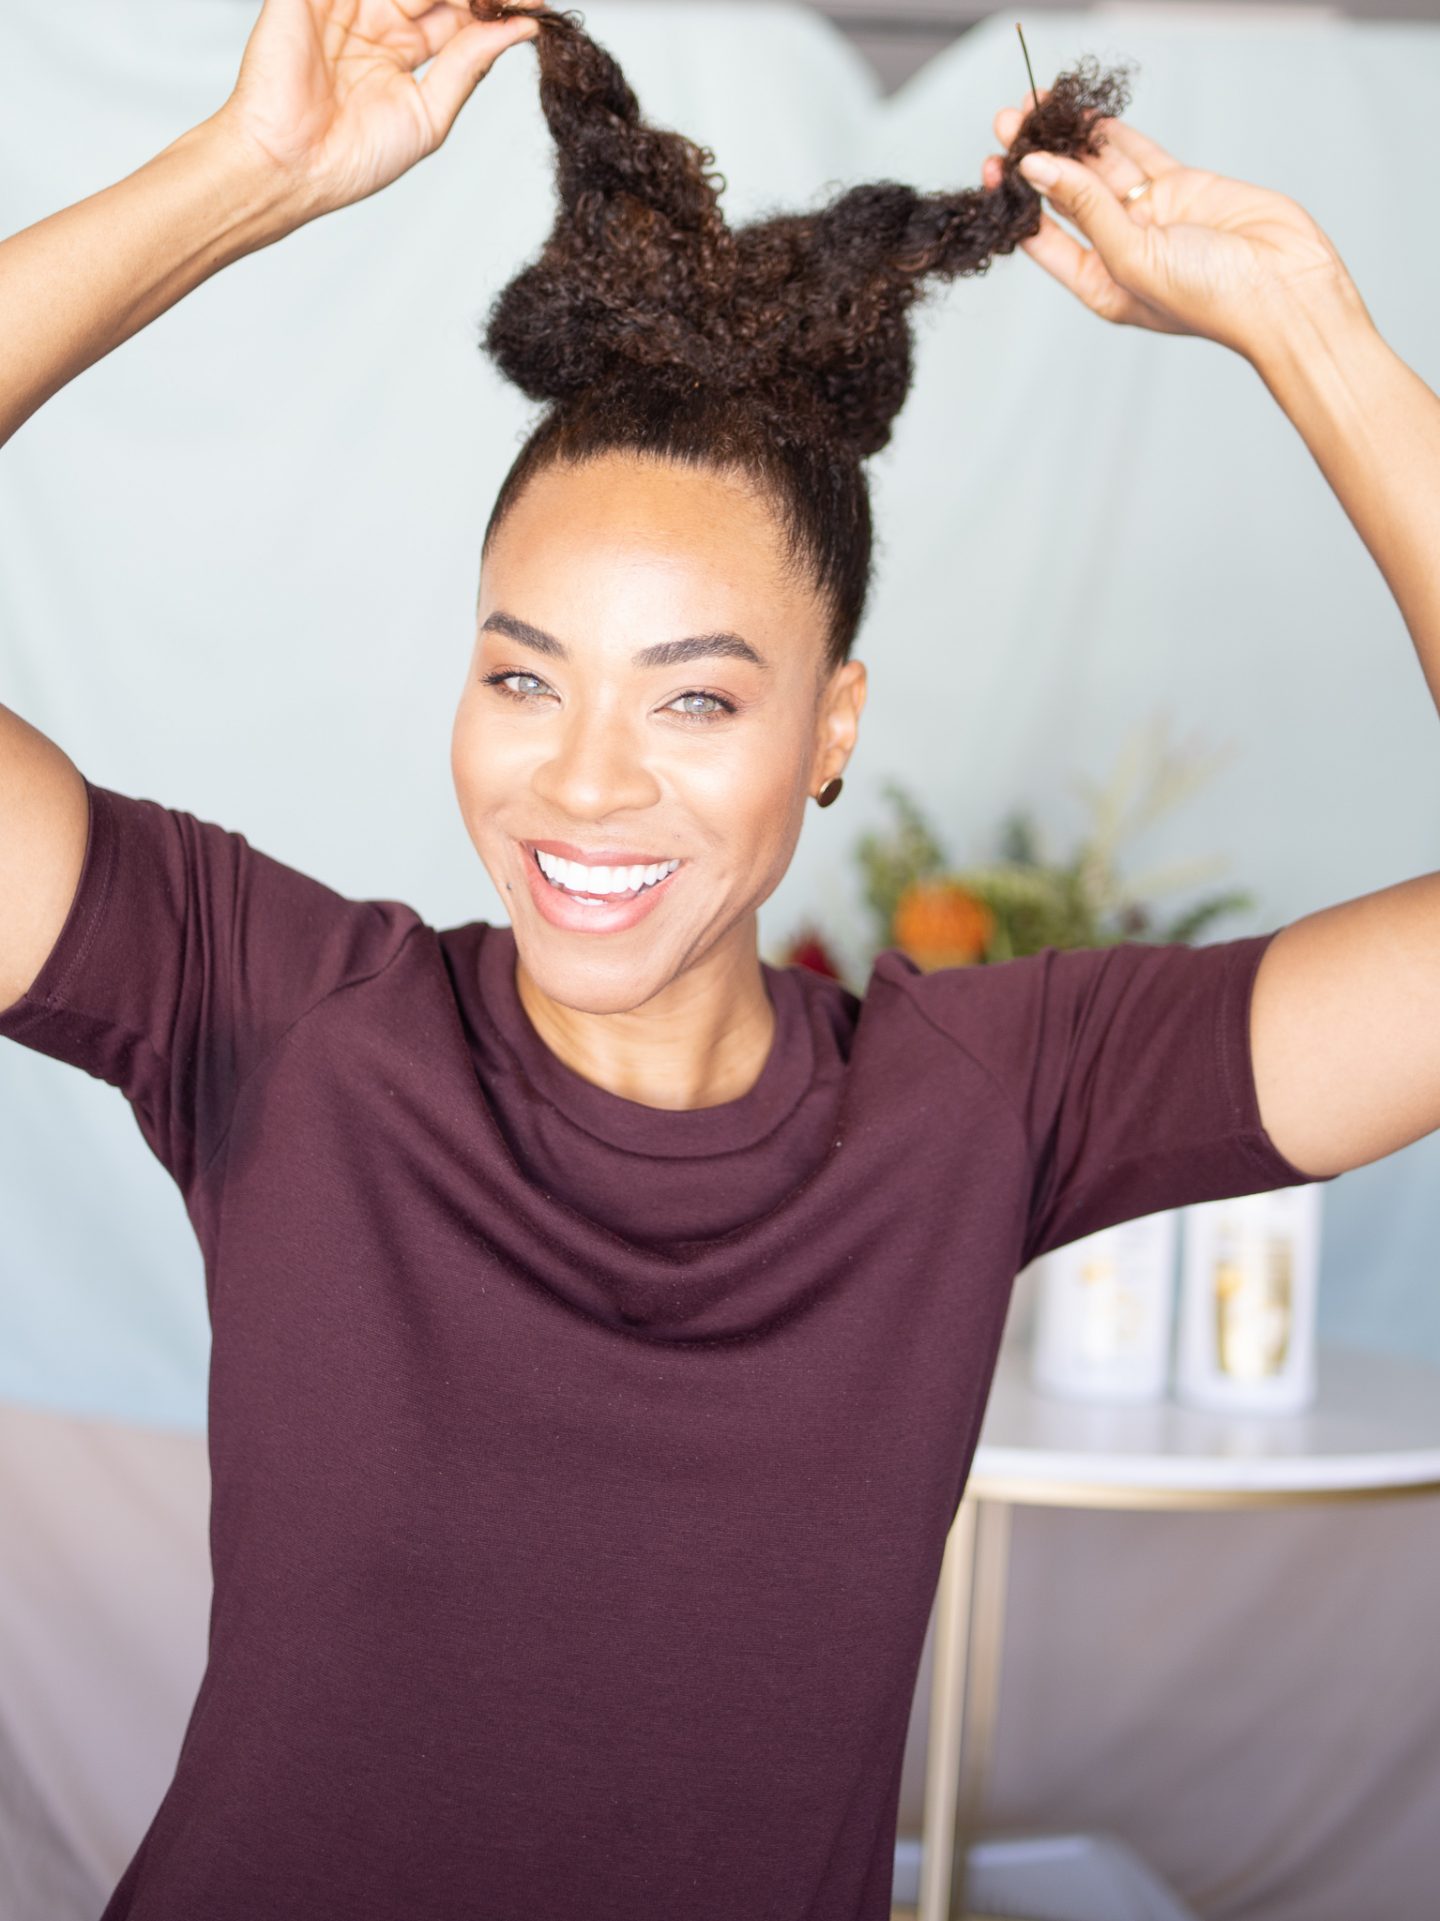
Natural hairstyle #1 – The Wash and Go!
I have been working to perfect the “wash and go” for literally… YEARS!!! I finally got it down. The truth is that no “wash and go” is simply “washing your hair and leaving the house.” The key to a great “wash and go” is moisture retention and protection. I love to play with hair color and often will dye my hair at home. The Pantene Advanced Care Collection (shampoo and conditioner) is gentle enough for color-treated hair and now has 3x more antioxidants, and protection from sun/UV damage keeping your hair moisturized and vibrant.
How to execute 1
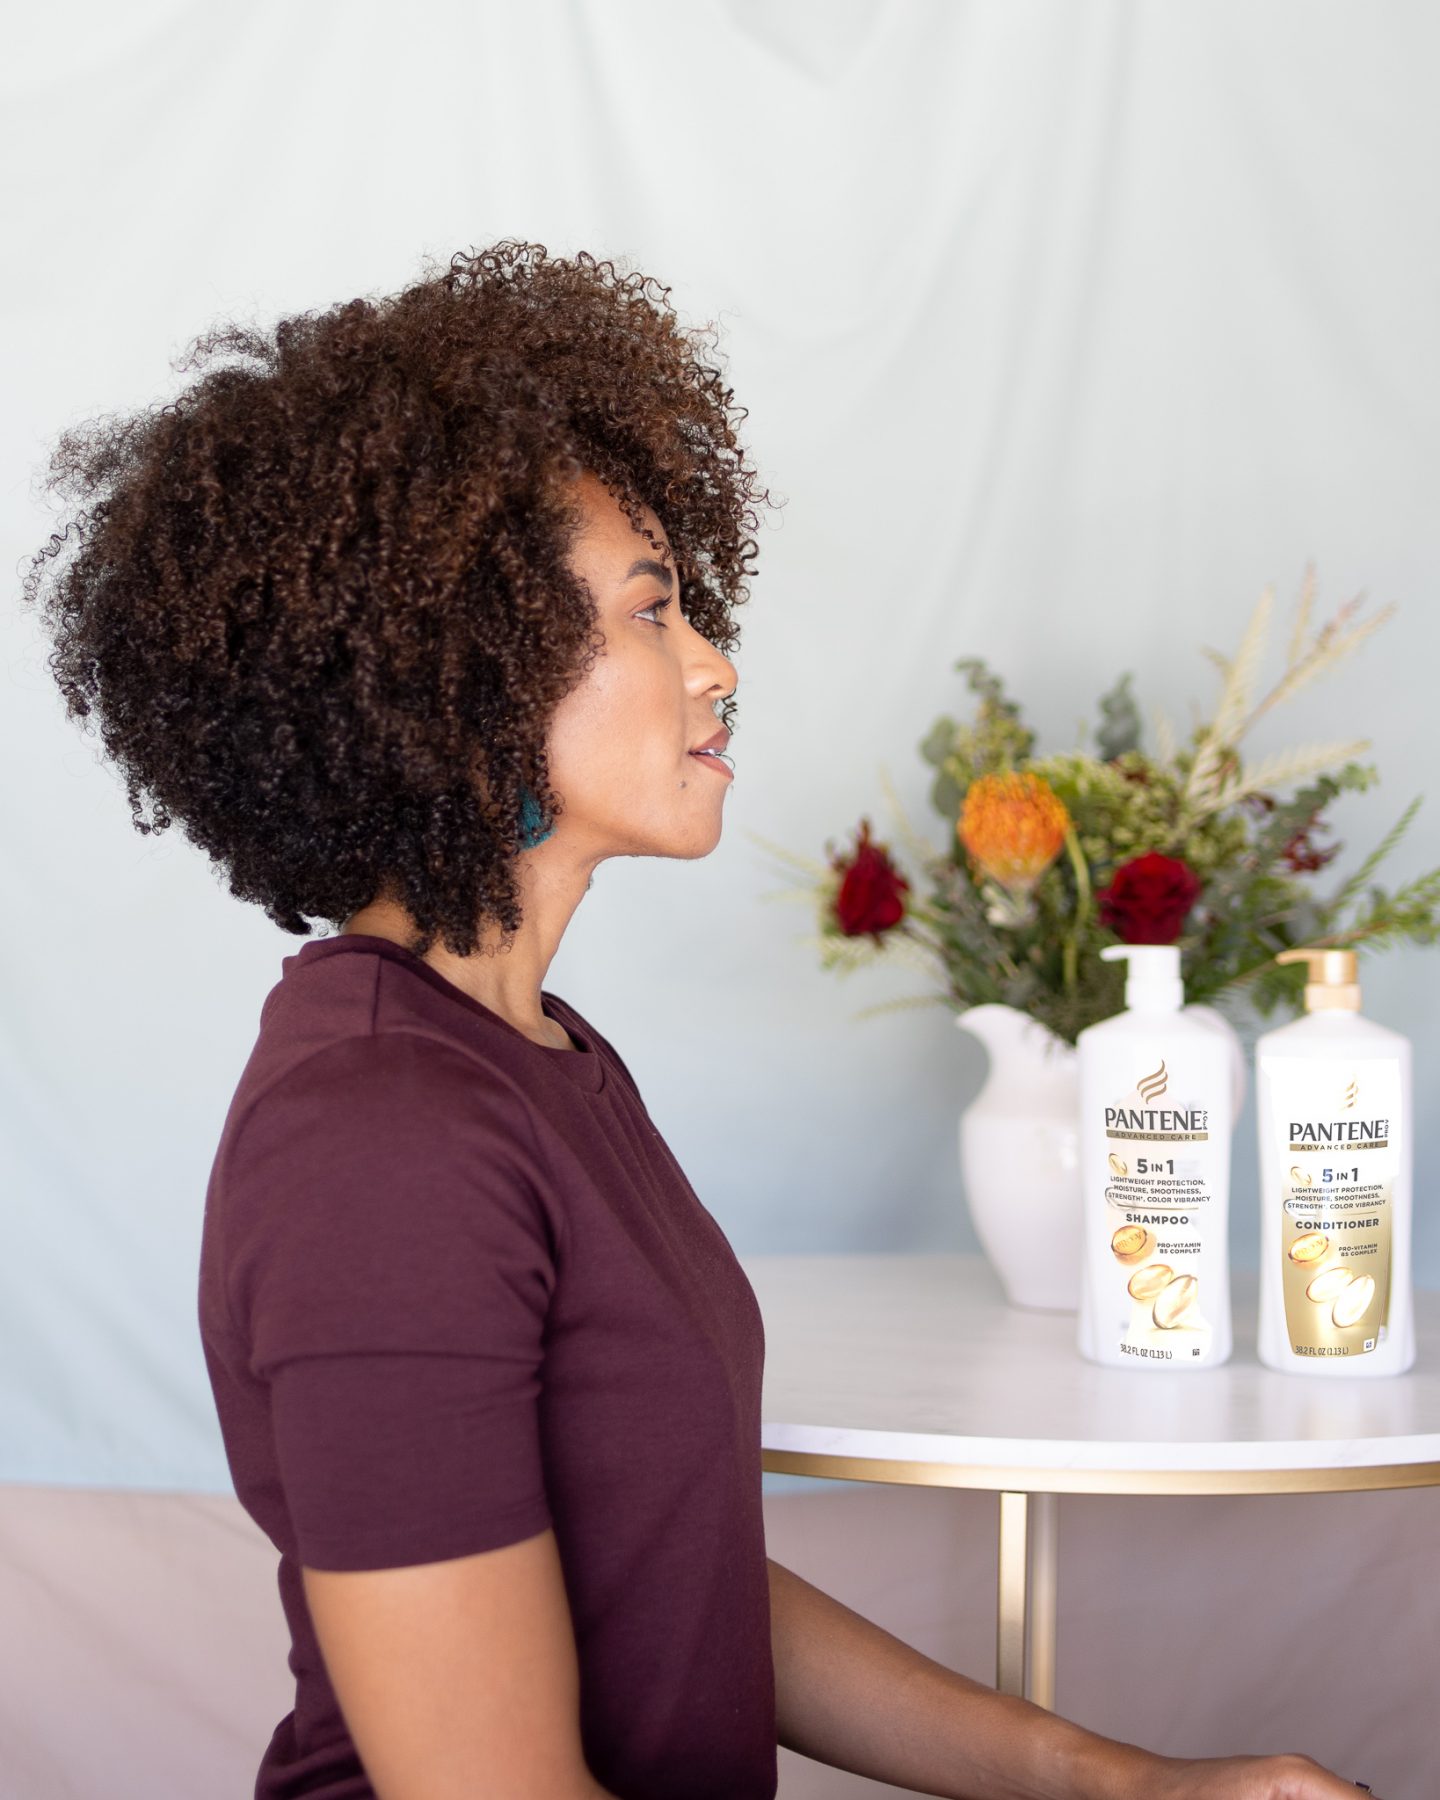
My wash and go is normally my day one to day three hair style for my shoulder length natural hair. I love how my wash and go will increase in volume as the days go by. The wash and go pictured is on day 2 so it’s just barely getting started.
Curly Natural Hair tip
After you condition your hair, rinse your hair with cold water. I normally do this in the bathtub by leaning my head and hair under cold running water. I immediately wrap my hair in a soft cotton T-shirt. If I choose to apply styling products, I try not to touch my hair until it’s at least 80% dry. Then I will go back in with my favorite styling products to give a little extra love to any strands that look like they were skipped when I applied the first round of styling products.
I also love to do a “wash and go” after deep conditioning with my favorite conditioner without applying products. The results are still great as long as you are sure to rinse your hair with cold water and avoid manipulating your hair while it is drying.
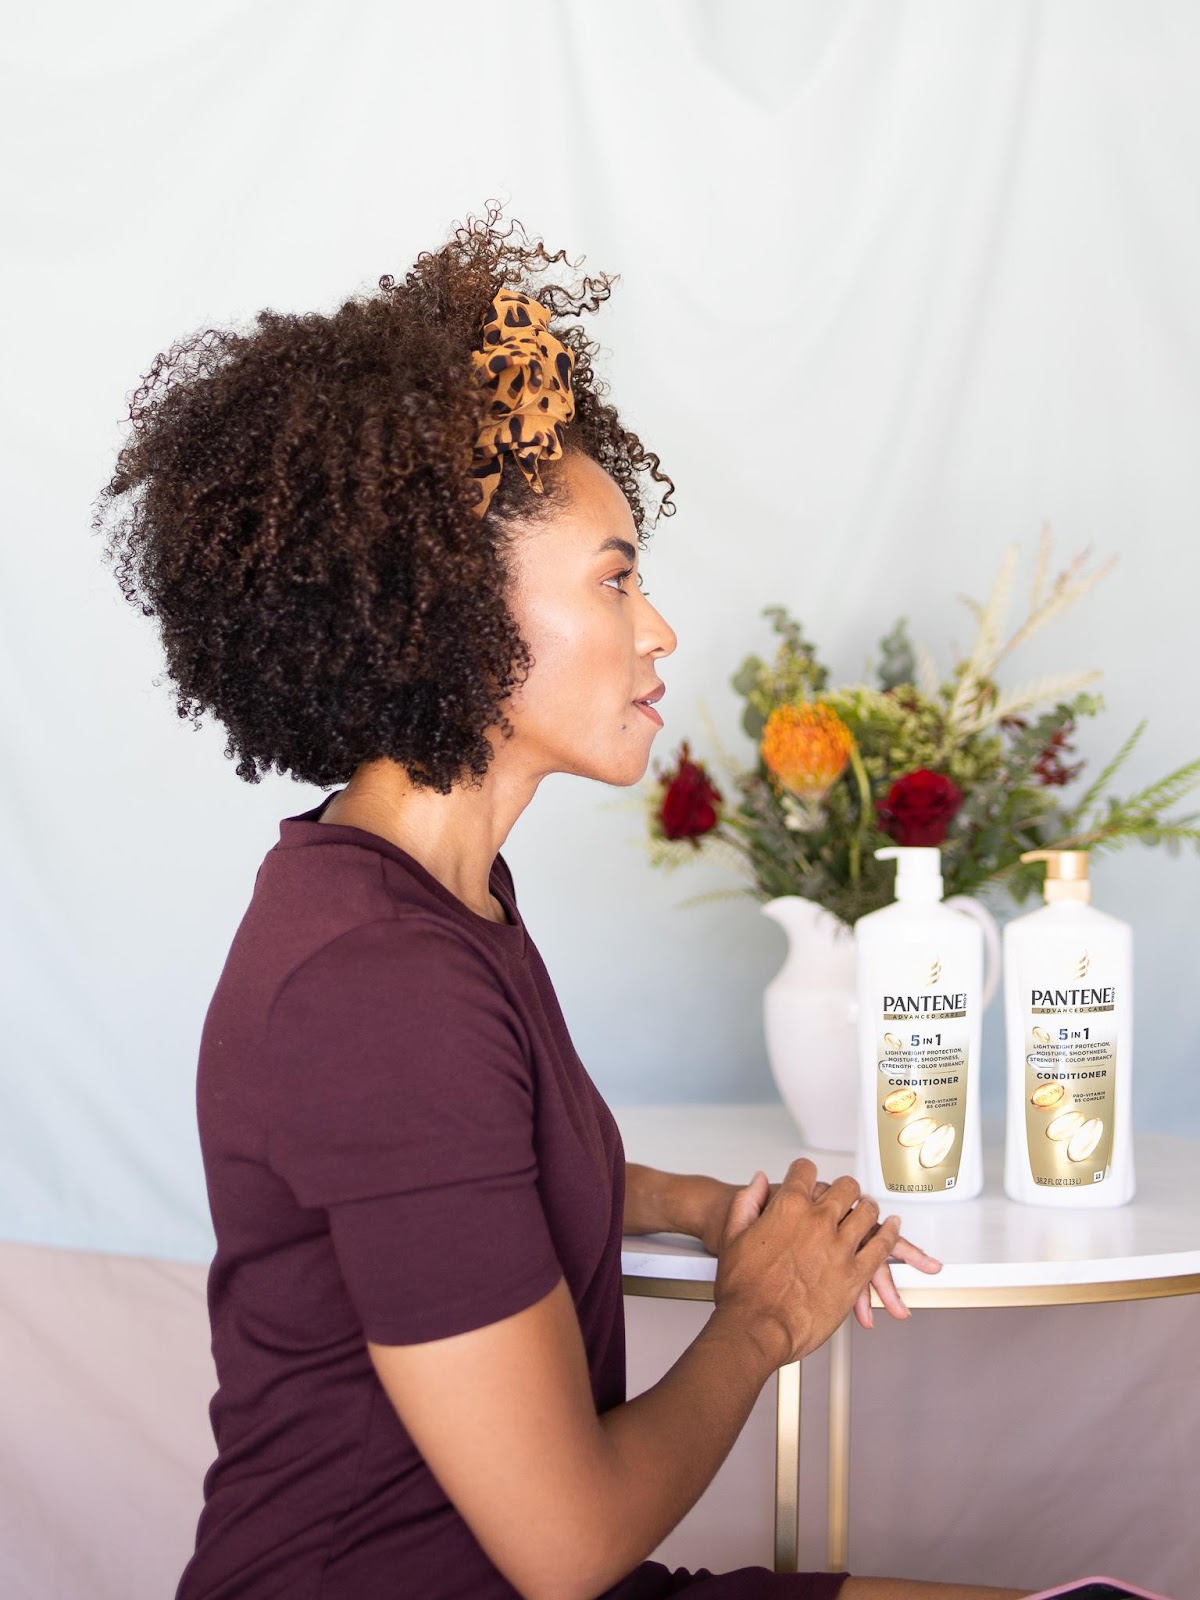
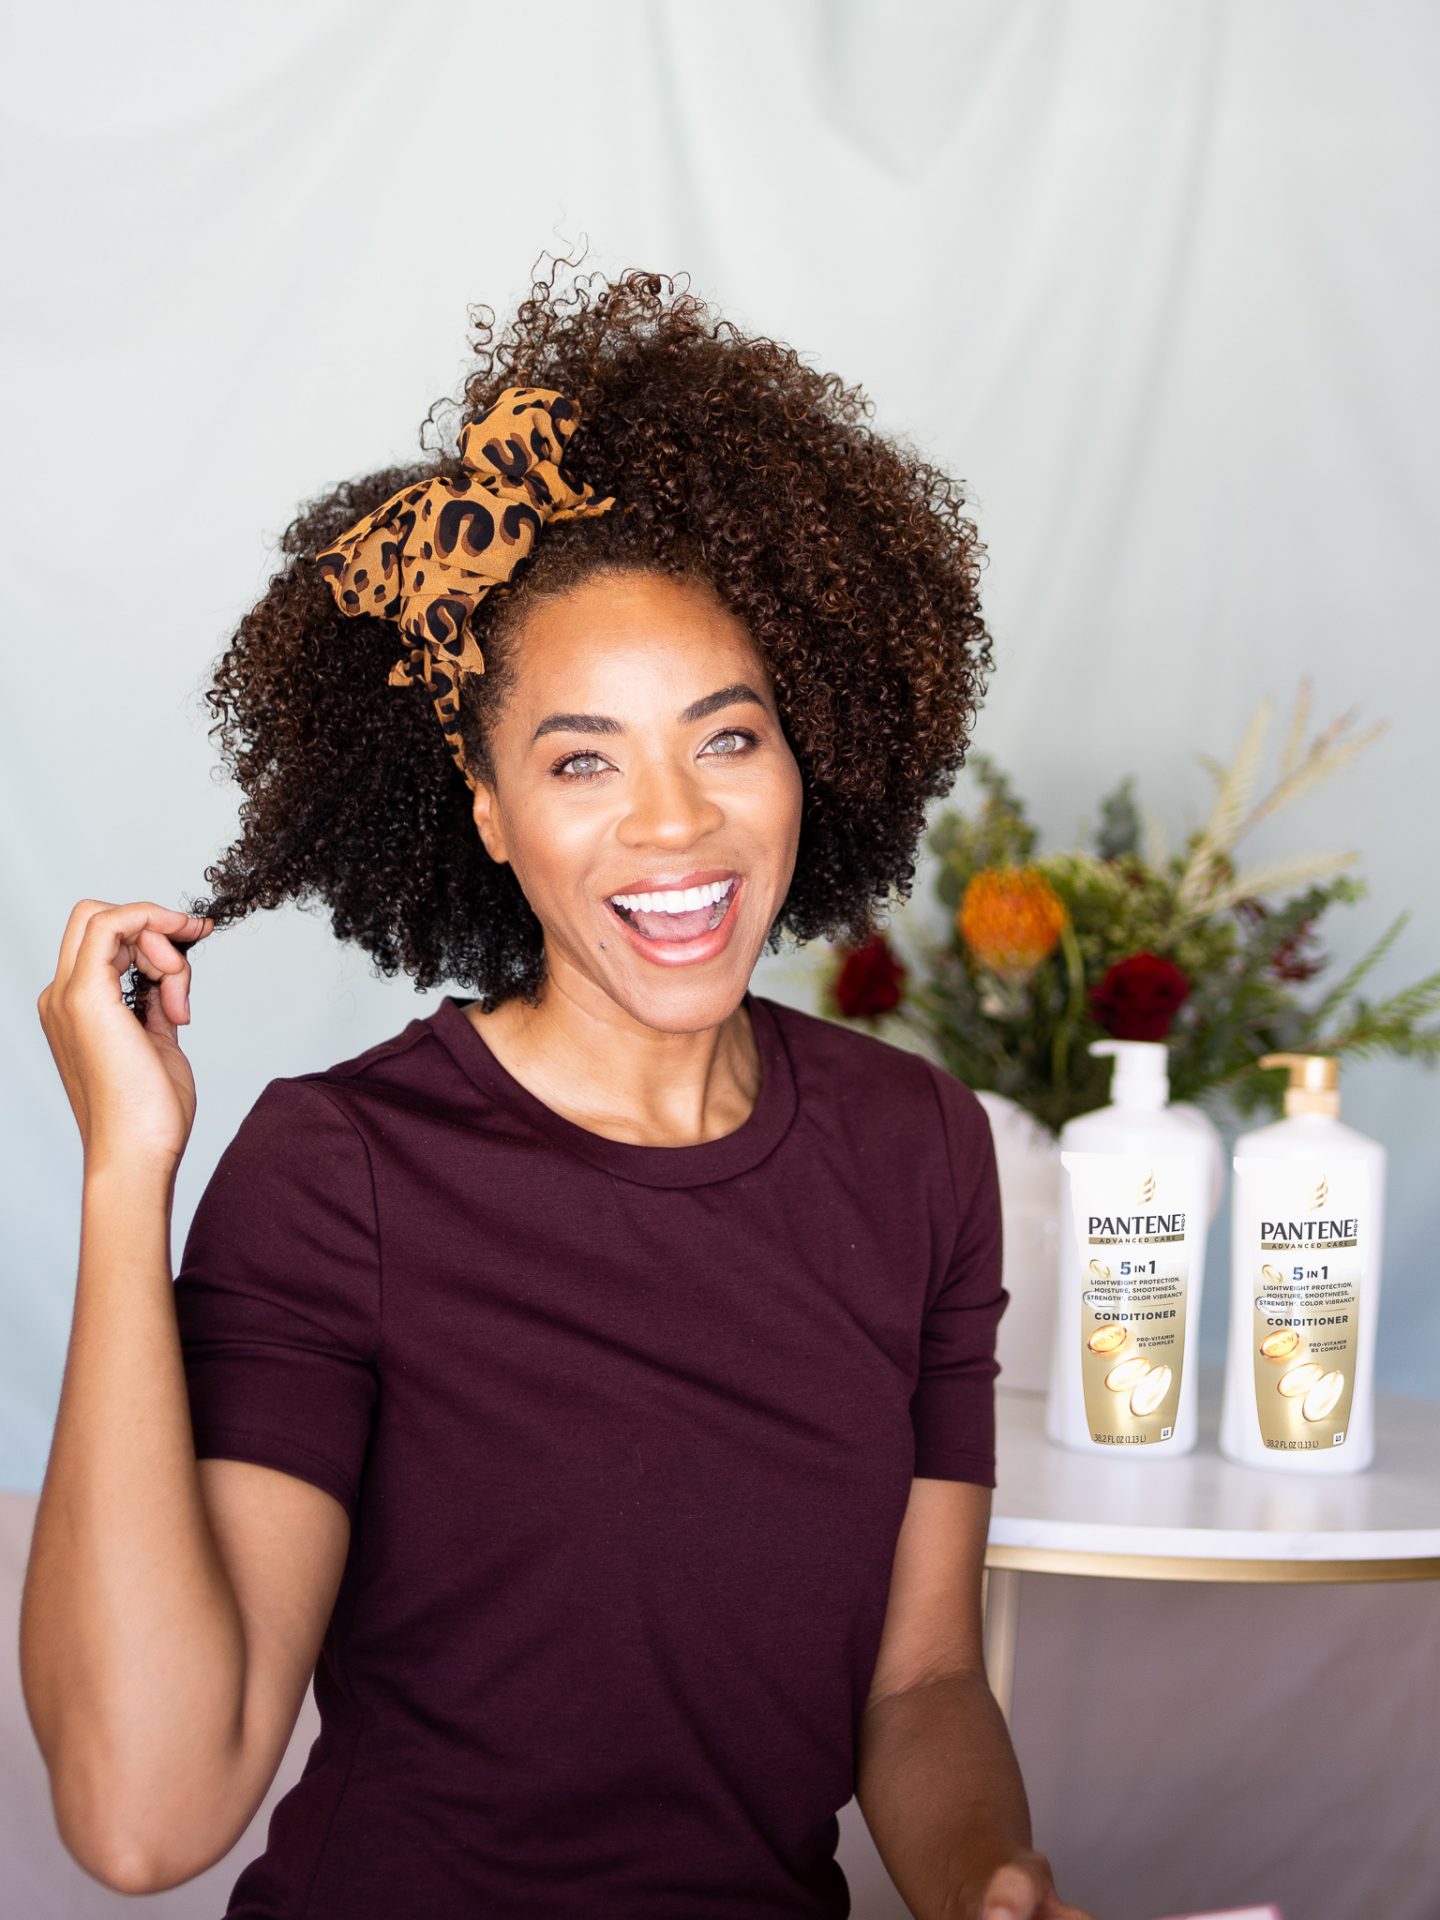
Natural Hairstyle #2: Bow Headband
Another one of my favorite natural hairstyles for my shoulder length natural hair is to play with headbands. I do find that traditional plastic headbands either are way too tight for my head or sit too far away from my scalp because of my thick curly natural hair.
How to execute
I most often use a thin scarf or fabric headband to tie around my hair. I usually tie a bow around my head with the belt or fabric headband, then I pull the tied bow to the side, so it sits on the side of my head. This natural hairstyle literally takes 30 seconds and is one of my favorite ways to show off the incredible moisture and shine that Pantene Advanced Care Collection provides.
Curly Natural Hair tip
When looking for the right headband, don’t be afraid to use your fabric belts. Sometimes I will use a belt from my favorite dress and simply wrap the belt around my head a few times before tying the bow to finish off the look. Using the belt from my dresses is one of my favorite ways to bring a pop of color up to my face.
Natural Hairstyle #3: The Queen Wrap
How to execute 1
Speaking of scarves: This is my absolute favorite natural hairstyle for my shoulder length hair. I call it the Queen Wrap because it makes me feel like royalty. This is a great protective natural hairstyle for days that you don’t really want to make a big fuss with your hair but still want to make a statement.

Curly Natural Hair tip:
When your scalp is clean you can really stretch the days in between your wash days. The Pantene Advanced Care Collection has extra antioxidants which really can help keep your hair and scalp healthy.
I don’t wash my hair every day but sometimes depending on my physical activity during the week, I can even stretch my natural hairstyle two full weeks. Some days my hair needs a little drama added and the Queen Wrap is my favorite go to between washes.
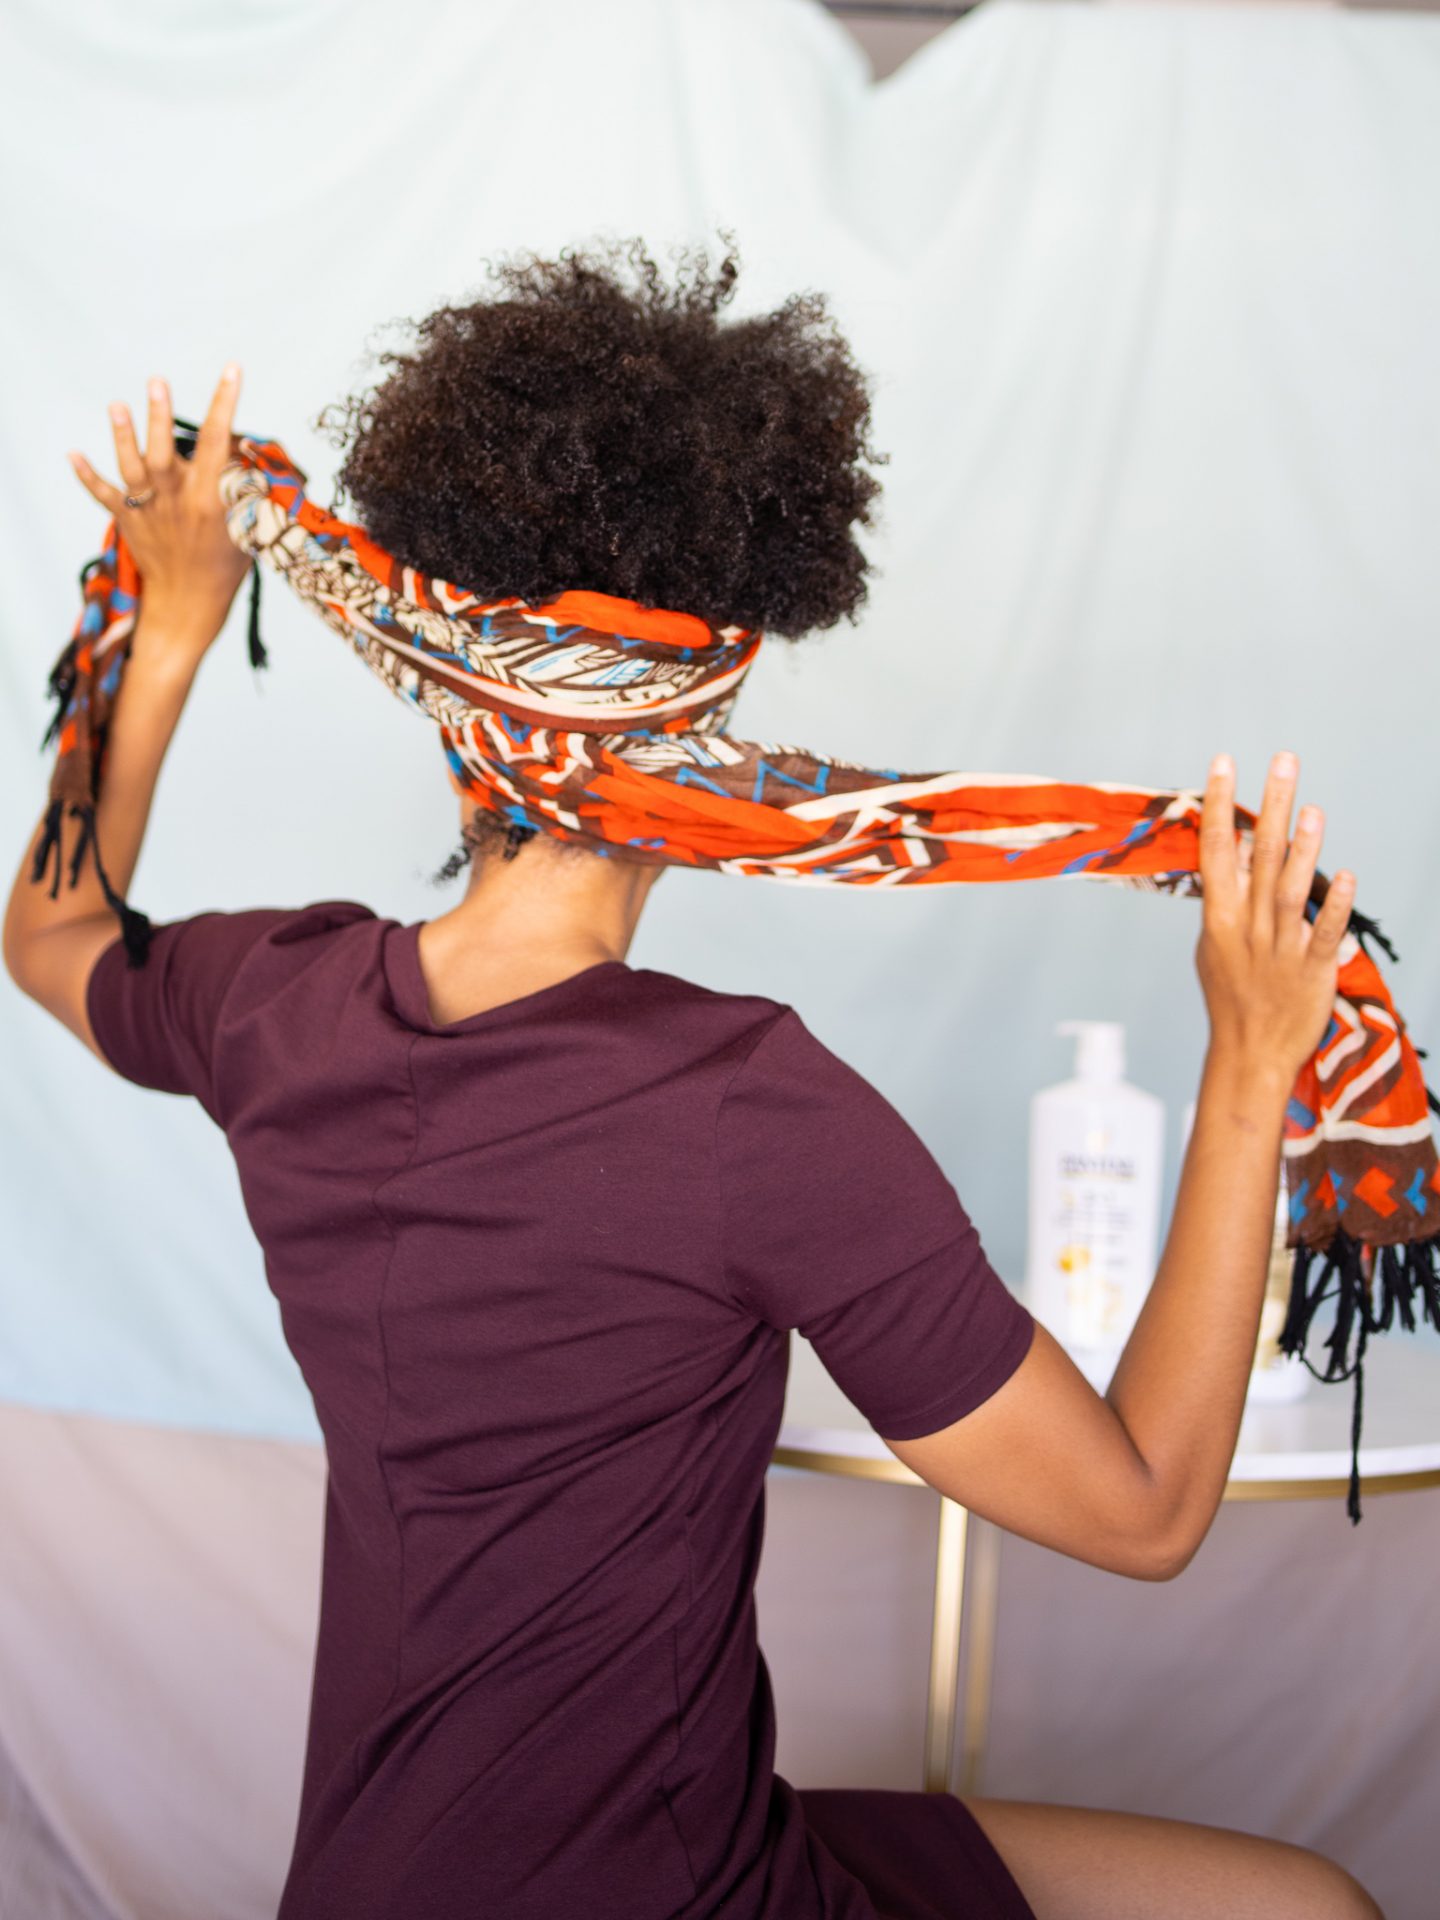
When creating the Queen Wrap on my shoulder length natural hair I choose a large scarf that I would typically wear around my neck.
To achieve this look first find the center of the scarf by folding the scarf in half. Then I firmly place the center of the scarf on the center of my forehead and wrap the scarf around the back of my head being careful to cover as much of my hair in the back as possible.

Next, I pull the scarf back to the front of my head and tie a loose cross over tie. From there you can tie a bow or tie a knot. That just depends on how long your scarf is. For longer scarves, I tie a bow, for shorter scarves, I tie a knot. And if the scarf is very large, I tie two bows and tuck the bunny ears of the bow until I like the look.
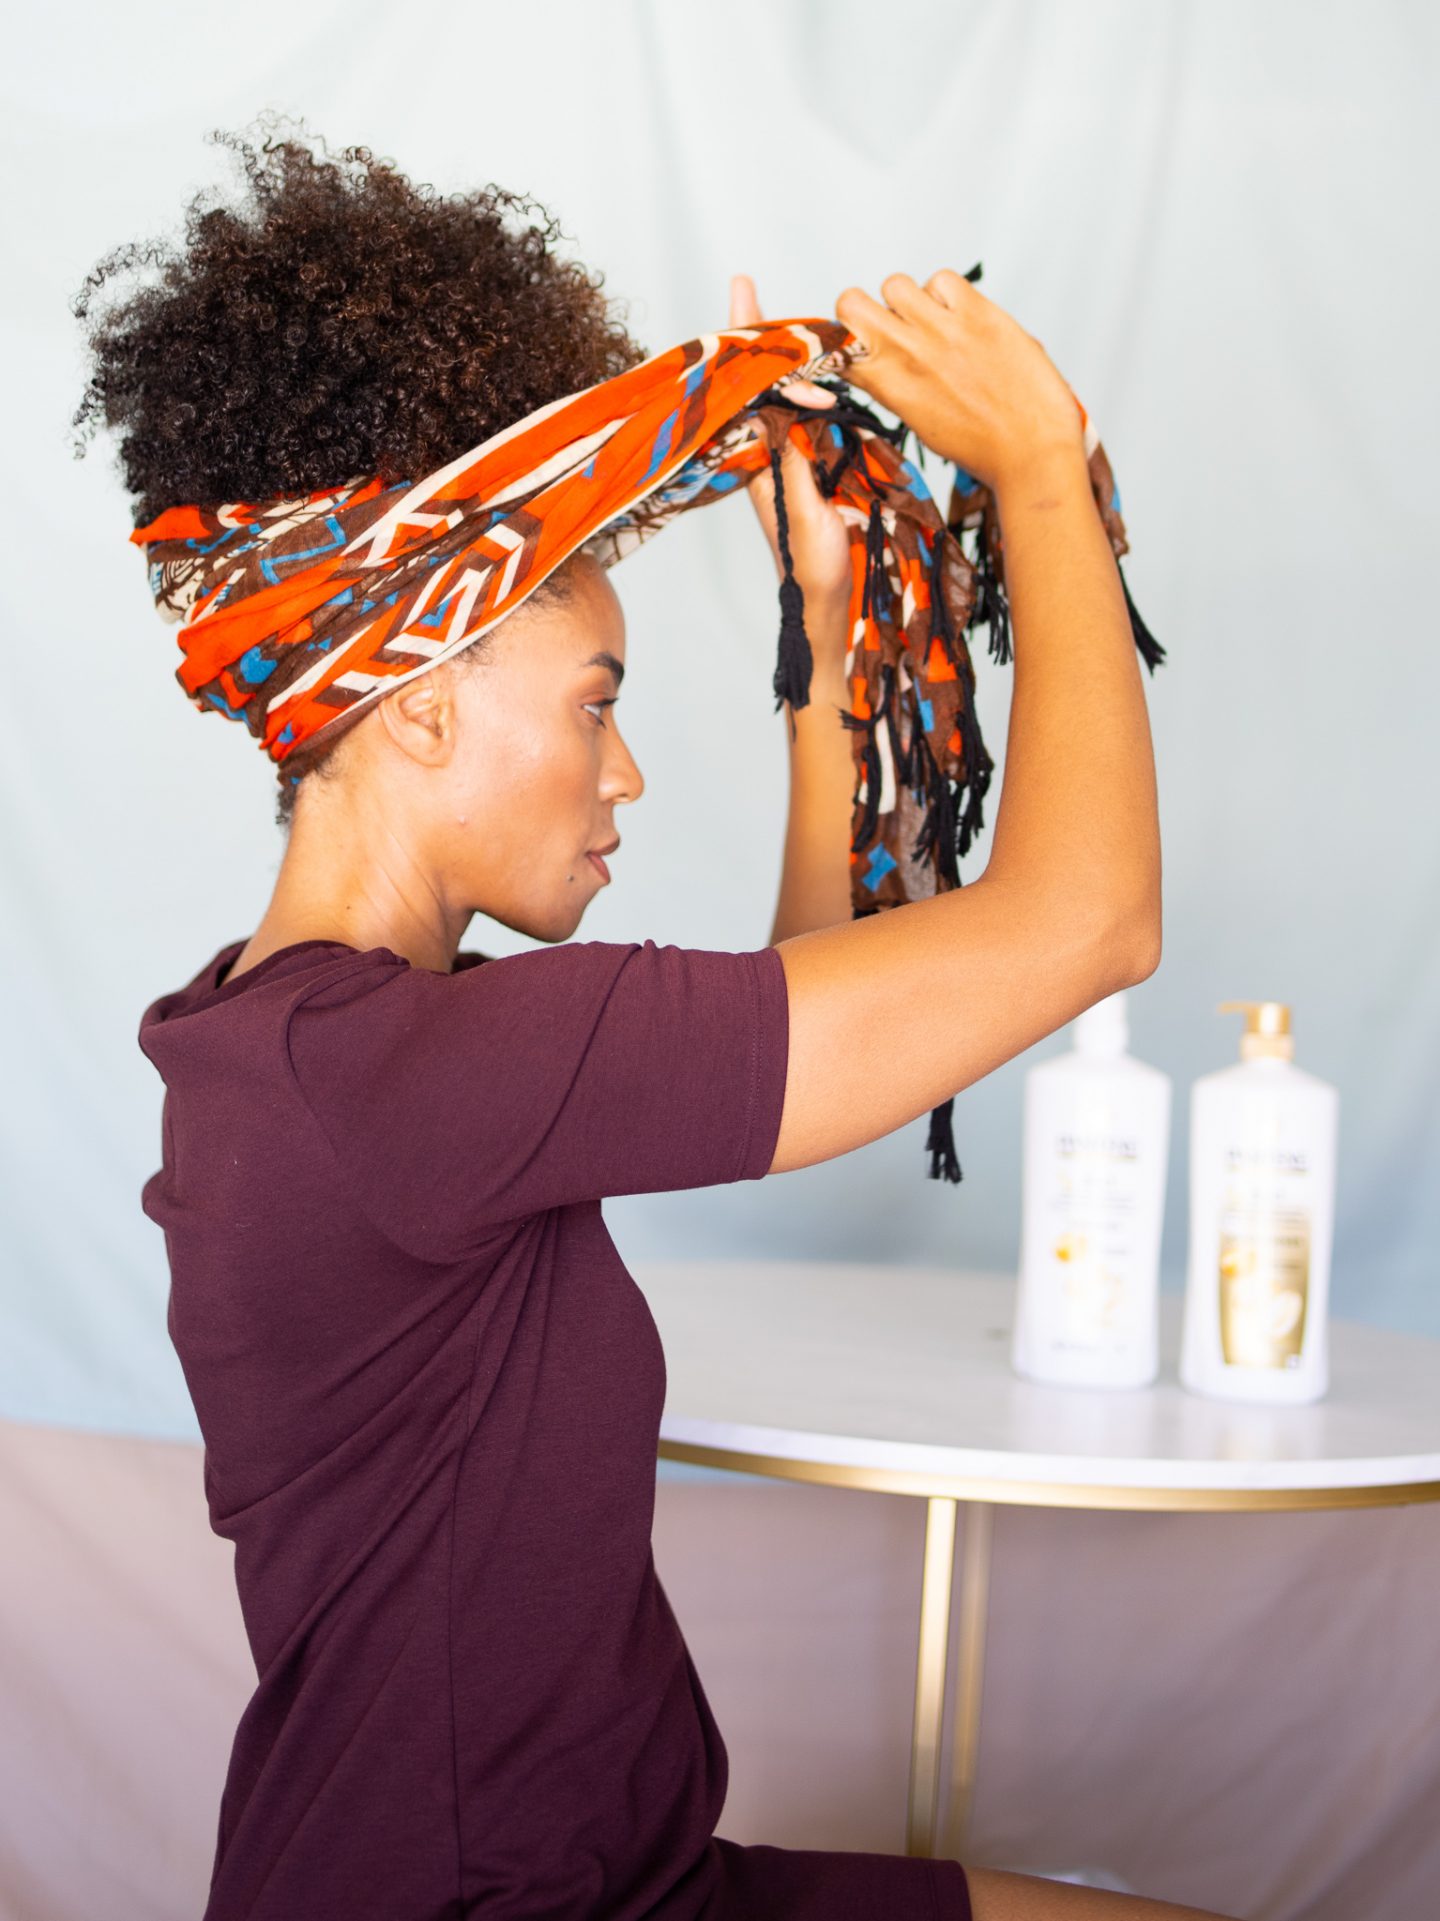

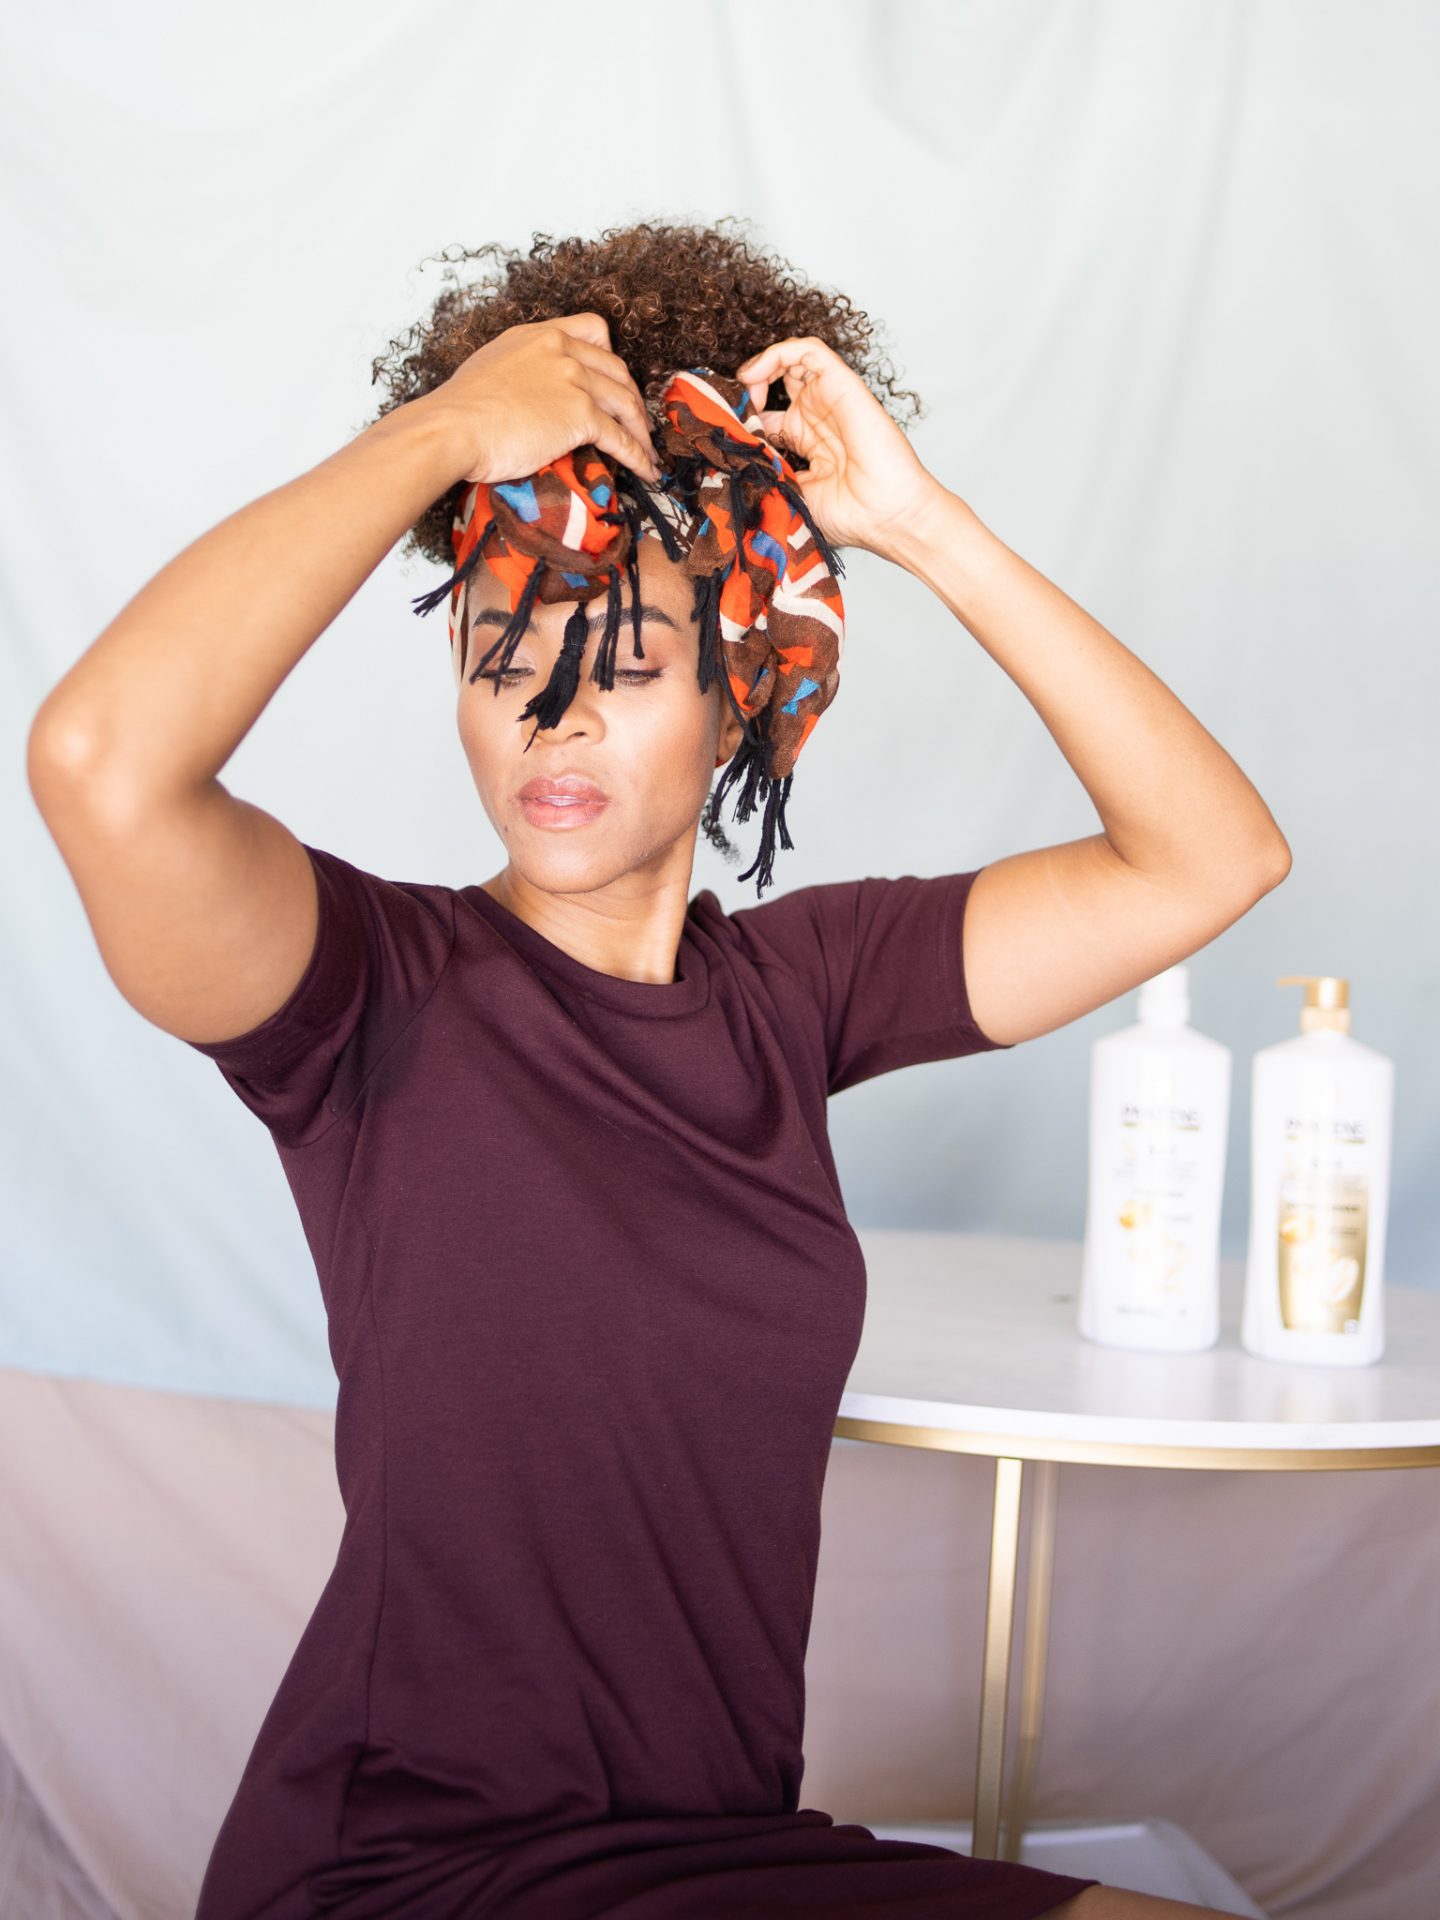
I always finish the look by tucking in the edges of the scarf. For this particular scarf, I also tucked in the tassels to make the look more polished.
Natural Hairstyle #4 : Easy elastic headband
How to execute
For this look simply add your favorite conditioner like the Pantene Advanced Care Conditioner to a water bottle and spray around your hairline for added moisture. Pull your hair back into a ponytail with either a brush or your fingers.
Curly Natural Hair tip
I love to add conditioner to water bottles. It adds an extra punch of moisture of your hair before manipulating it. Naturally curly hair is more prone to breaking when dry so I never change my hairstyle without first loading on some moisture.
When my hair is curly, my natural hair will snap a traditional scrunchy in half when I stretch to wrap around my curls. I often will pull an elastic headband with no decorations, and cut it open so it is one straight line of elastic. Then I wrap the elastic around the base of my hair once my hair is pulled up tightly into the ponytail. I tie the end of the elastic in a knot and tuck in the ends. If you would like to see a tutorial for this, please let me know in the comments or message me on Instagram.
To finish the look, I slide a decorative headband on the front of my hair, and we are ready to go!

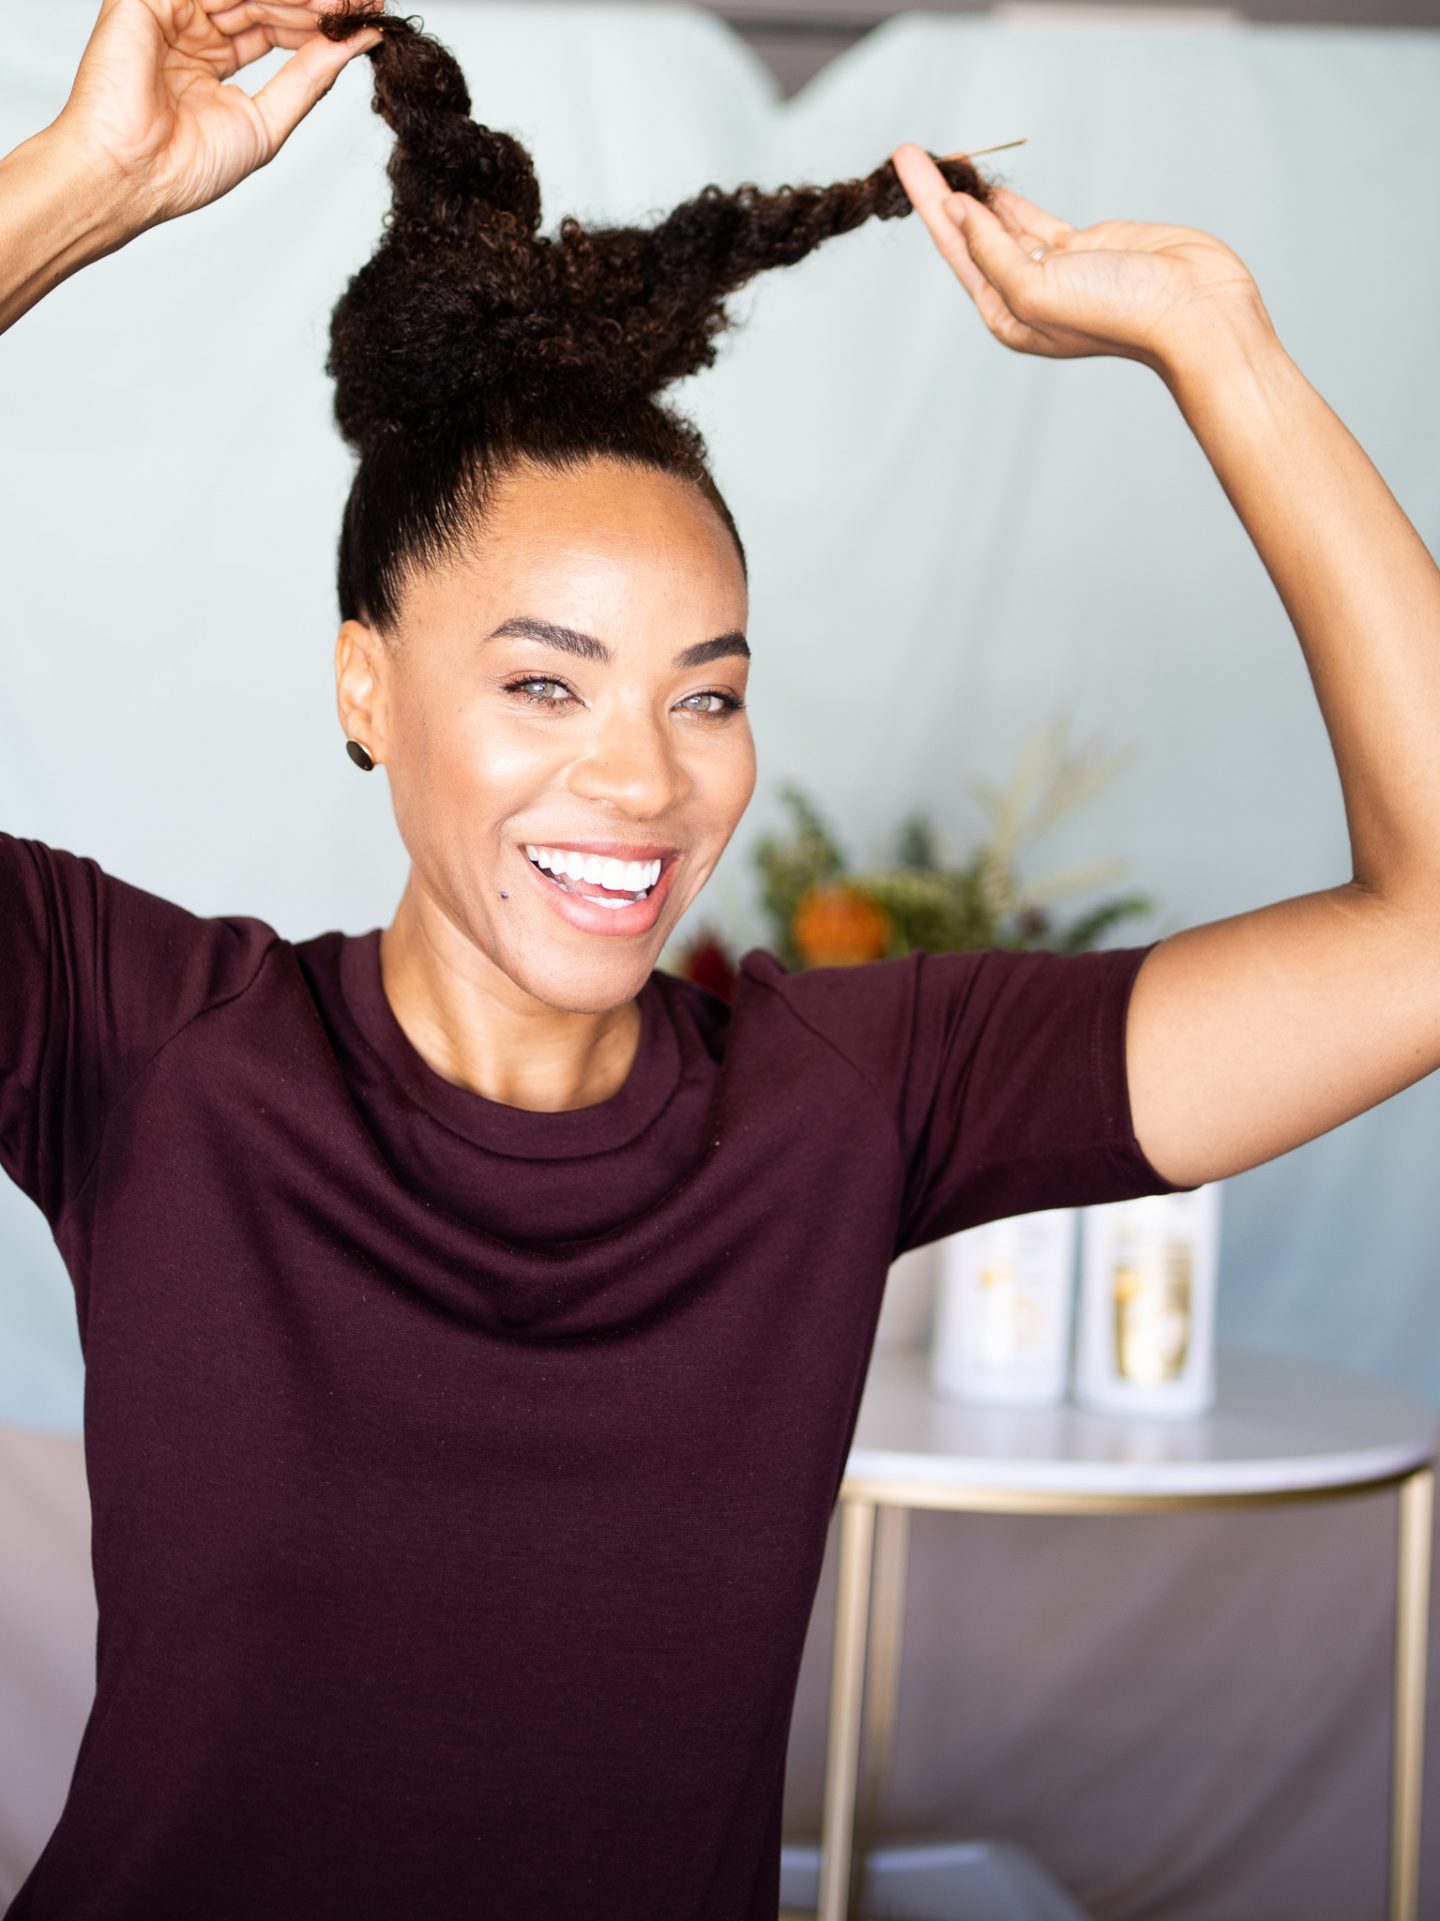
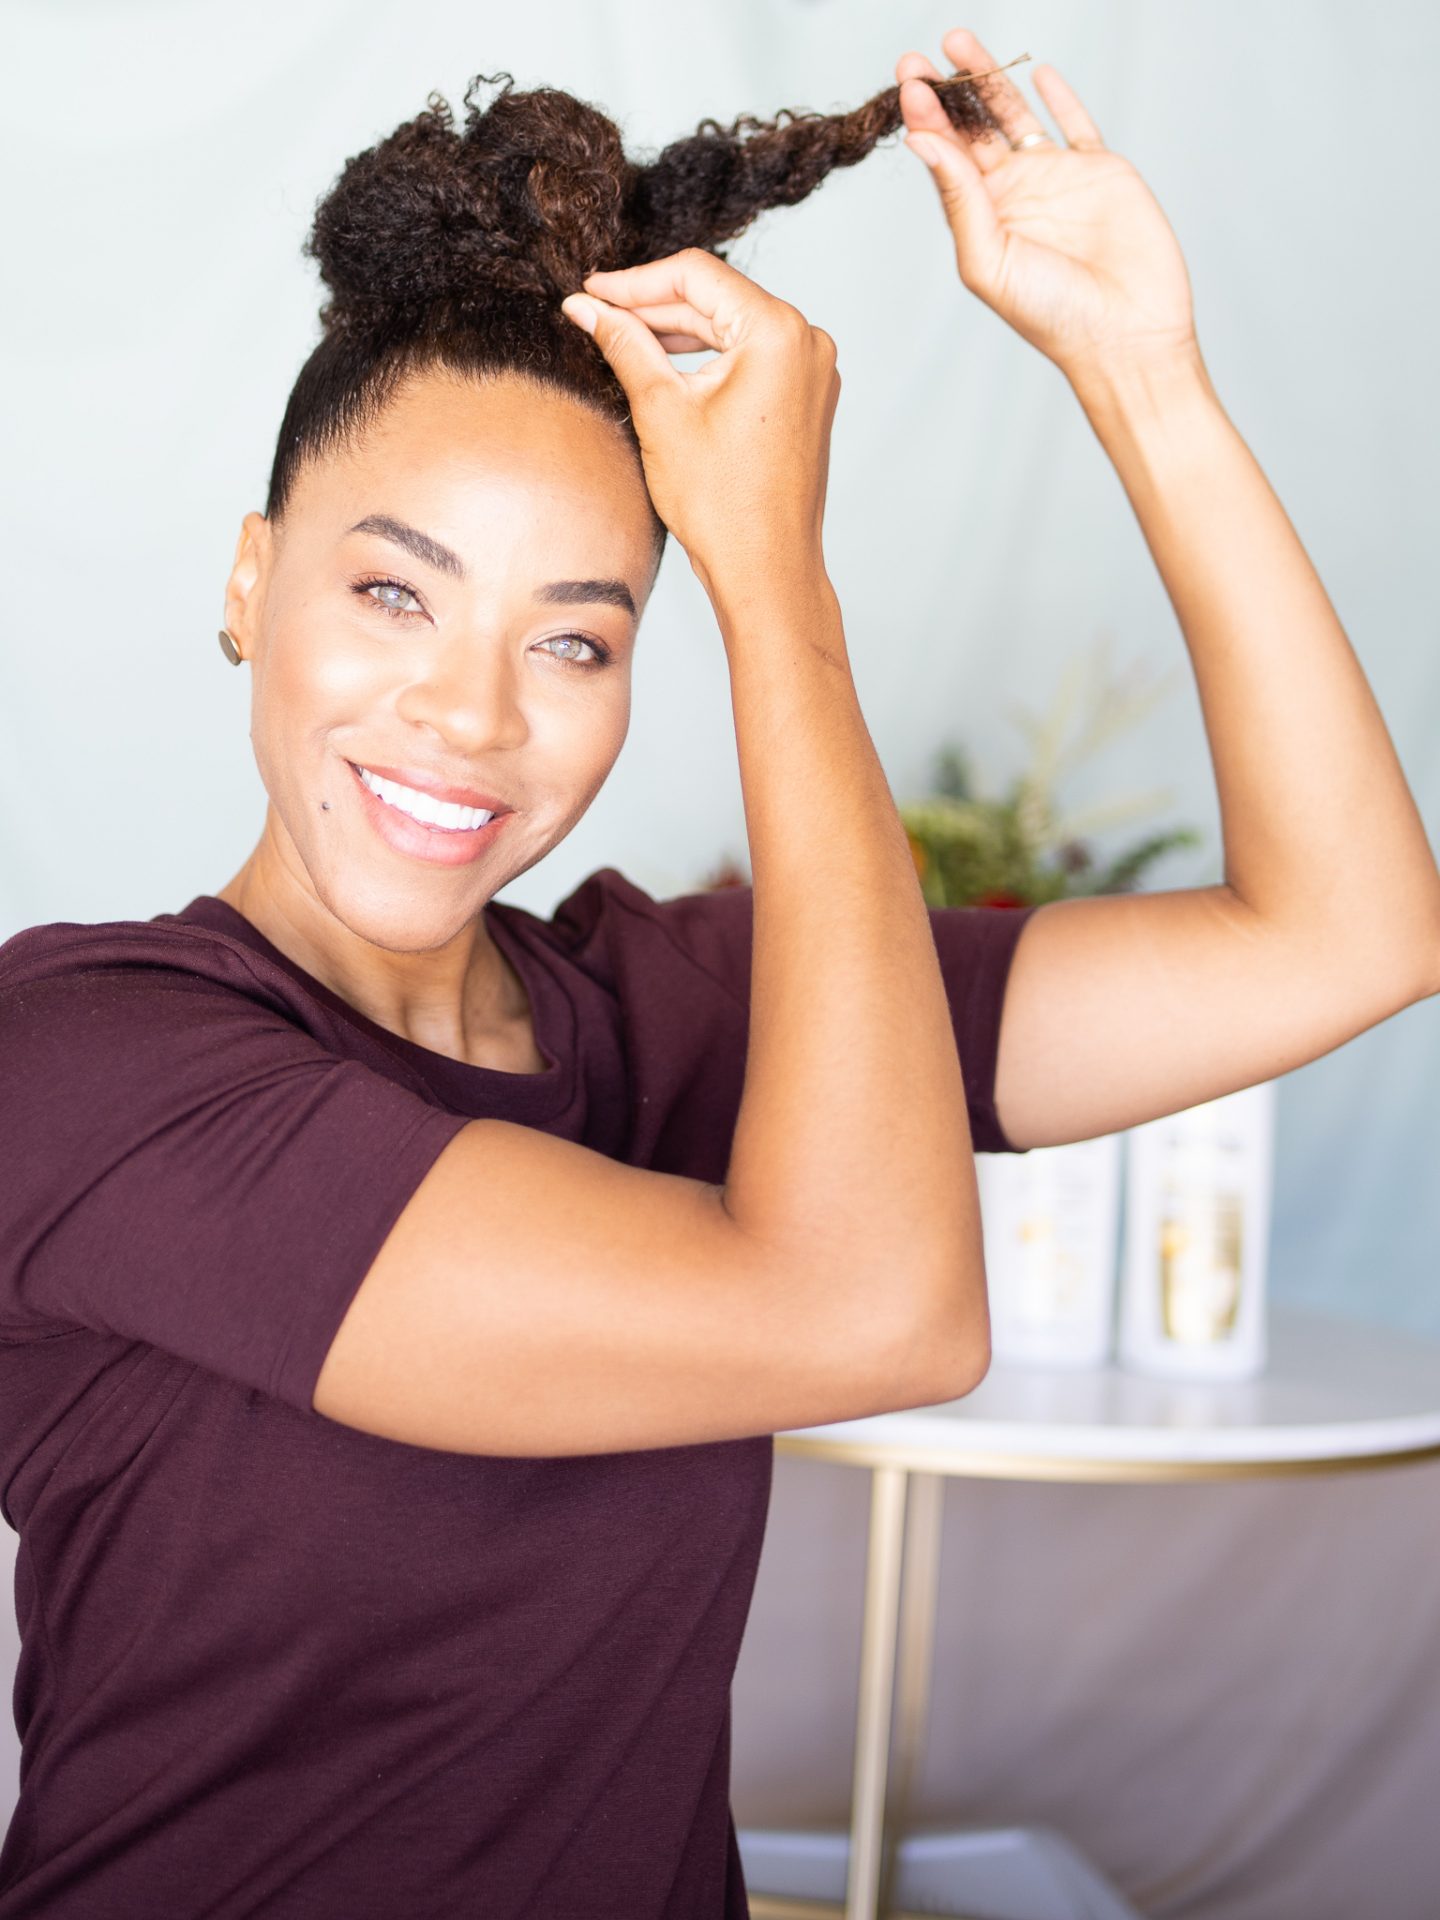
Natural Hairstyle #5: The Simple Classy Bun
How to execute
For this look you will need the same materials and steps as the elastic headband style mentioned above, but you will also need bobby pins. For this look in addition to spraying the crown of hair with the water and Pantene Advanced Care Collection Conditioner, I also spray the ends of my hair to prepare them for simple twists.
I typically put at least 4 large twists in the ends of my ponytail, two twists in the front, two twist in the back. After all my hair is twisted, I wrap my hair around the base of my ponytail and secure it with a few bobby pins. I typically secure the twists in the back first and then secure the twists in the front.
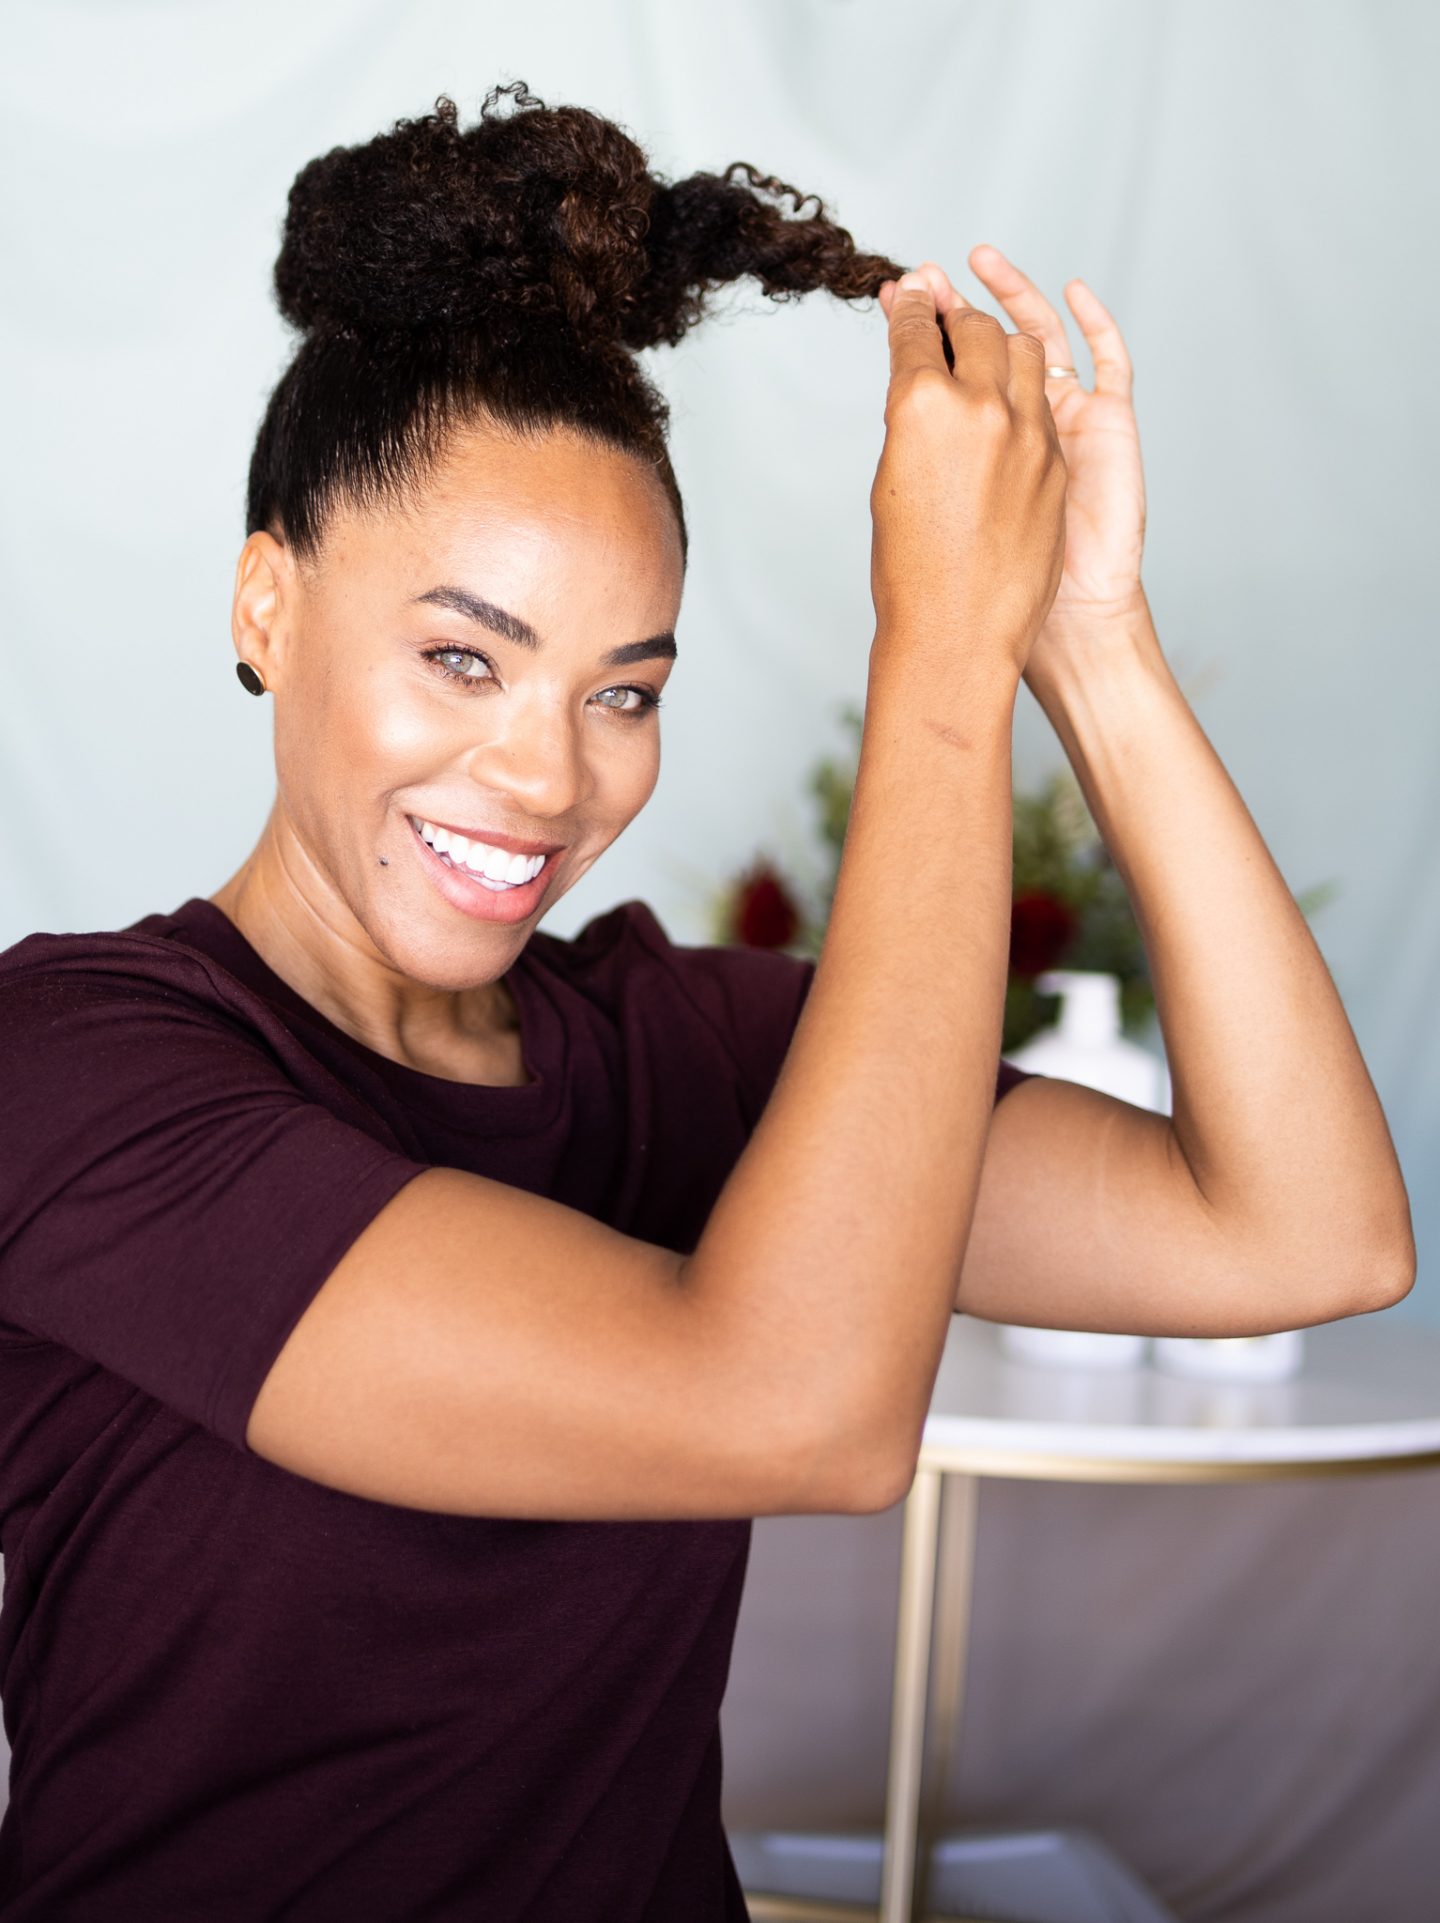
Curly Natural Hair tip
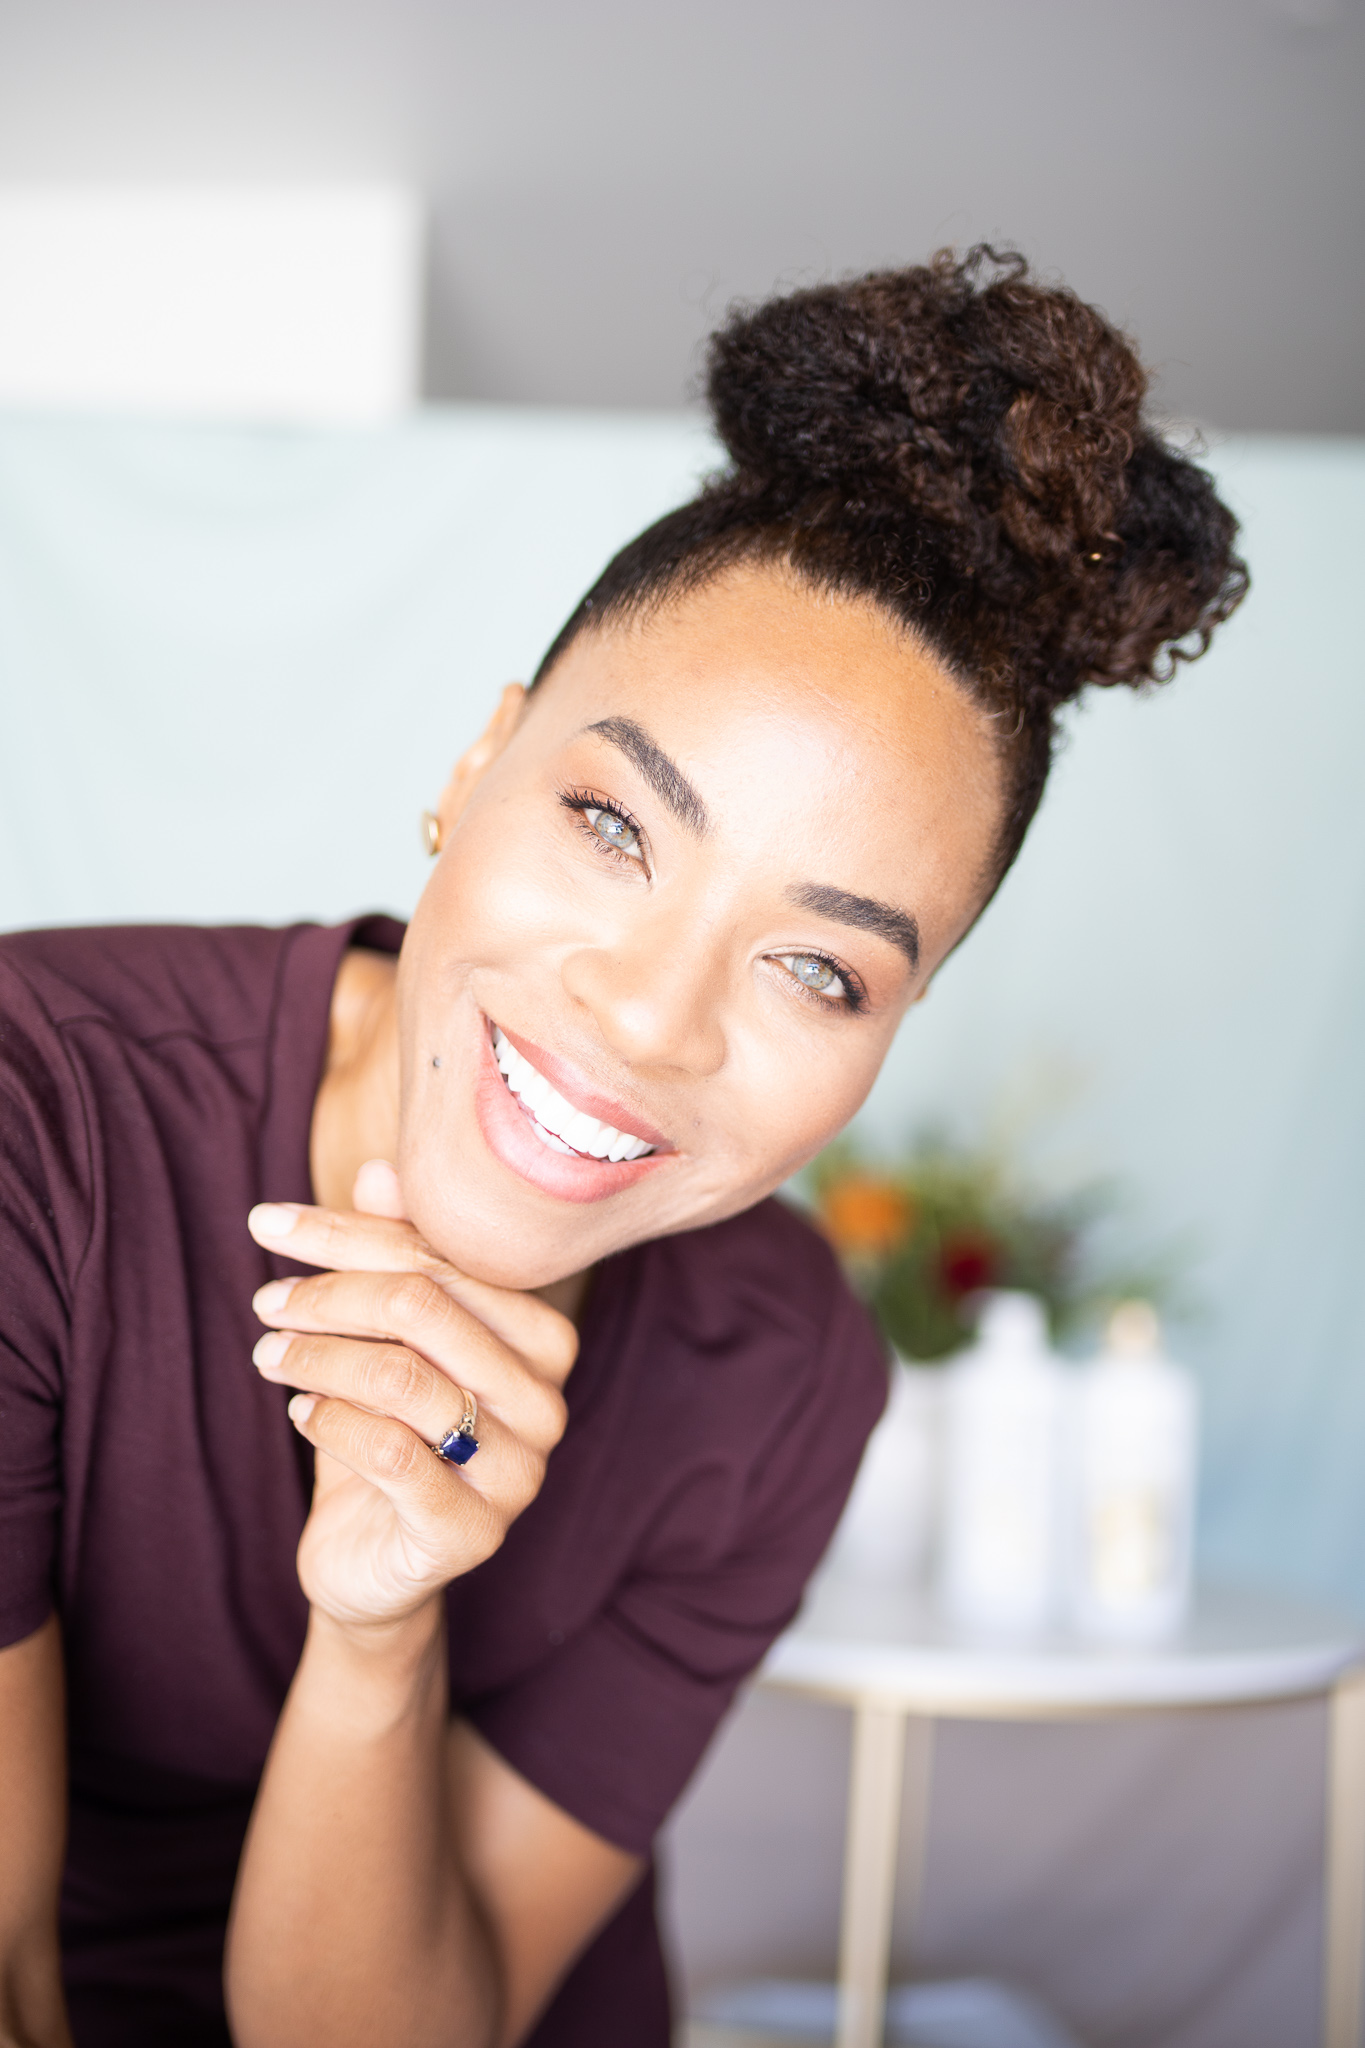
To achieve a larger fuller bun, gently pull the twists apart after you have secured the twists down with a bobby pin. The more you pull them apart, the larger your bun will be.
If you are looking for a smaller, more intricate looking bun, simply add more twists to your ponytail and criss cross the twists around your head as you secure them with your bobby pins.
Both looks are beautiful, and I can’t wait to hear about what you create.
Thank you for checking out my 5 Natural Hairstyle for shoulder length hair. I can’t wait to hear about the beautiful styles you create. Feel free to subscribe to my blog so you can be the first to learn about my next hair tutorial. And be sure to check out the Pantene Advanced Care Collection at Costco where you can receive $2 off from now through June 28, 2020.
Xo
Chantea


I love each and everyone of these styles!!!